For this dress, the bride asked me to create as much fullness in the skirt as I possibly could. I started with the idea of making a hoop skirt. How hard could that be? It turned out to be harder than I thought. I really needed this part, the starting point, to be easy and when it was proving to be just the opposite, I paused. During my pause, someone gave me great advice that I will carry with me - “It’s okay to outsource parts of a project when you need to.” It’s not failure, it’s just knowing when you don’t know enough.
I do wish I had a picture of my crazy wavy hoop skirt - but I don’t :). It was everything I didn’t need it to be.
I ordered a 6- hoop skirt with a circumference of 160” from Angels Bridal Shops on Etsy.
With the hoop skirt on order, I started playing around with just how full I could make the skirt. I marked out where the edge of the skirt would hit - measuring approximately 3 feet from the original skirt hem, in all directions. I marked the new skirt edge with blue painters tape:
The hoop arrived and I tried it with the dress. It definitely added fullness but was it enough?
Not quite. The level of fullness we were trying to get to was more like fairytale princess fullness! Now I had a picture of where we were headed.
 |
| Inspiration Dress |
Two layers of crinoline were hand stitched to the hoop skirt:
The layers of crinoline really made a difference.
The bride wanted some sparkle added to the skirt layers. A layer of sparkle organza was added just under the layers of tulle.
 |
| Sparkle Organza |
 |
| Added layer of sparkle organza |
 |
| This is how the skirt sparkled outside |
 |
Pockets added
|
Bodice Work
The zipper was removed and replaced with a corset tie up back - loops, tie and modesty panel all made with fabric that came very close to matching the original dress. It is always a challenge finding fabric to add to a dress - matching color and shade. I think we came very close.
 |
| Lacing up the corset |
 |
Adding thread loop to hold tulle skirt together
at bottom of corset
|
 |
| Hook attached to loop |
 |
This is what I was hoping the hook
and loop would do |
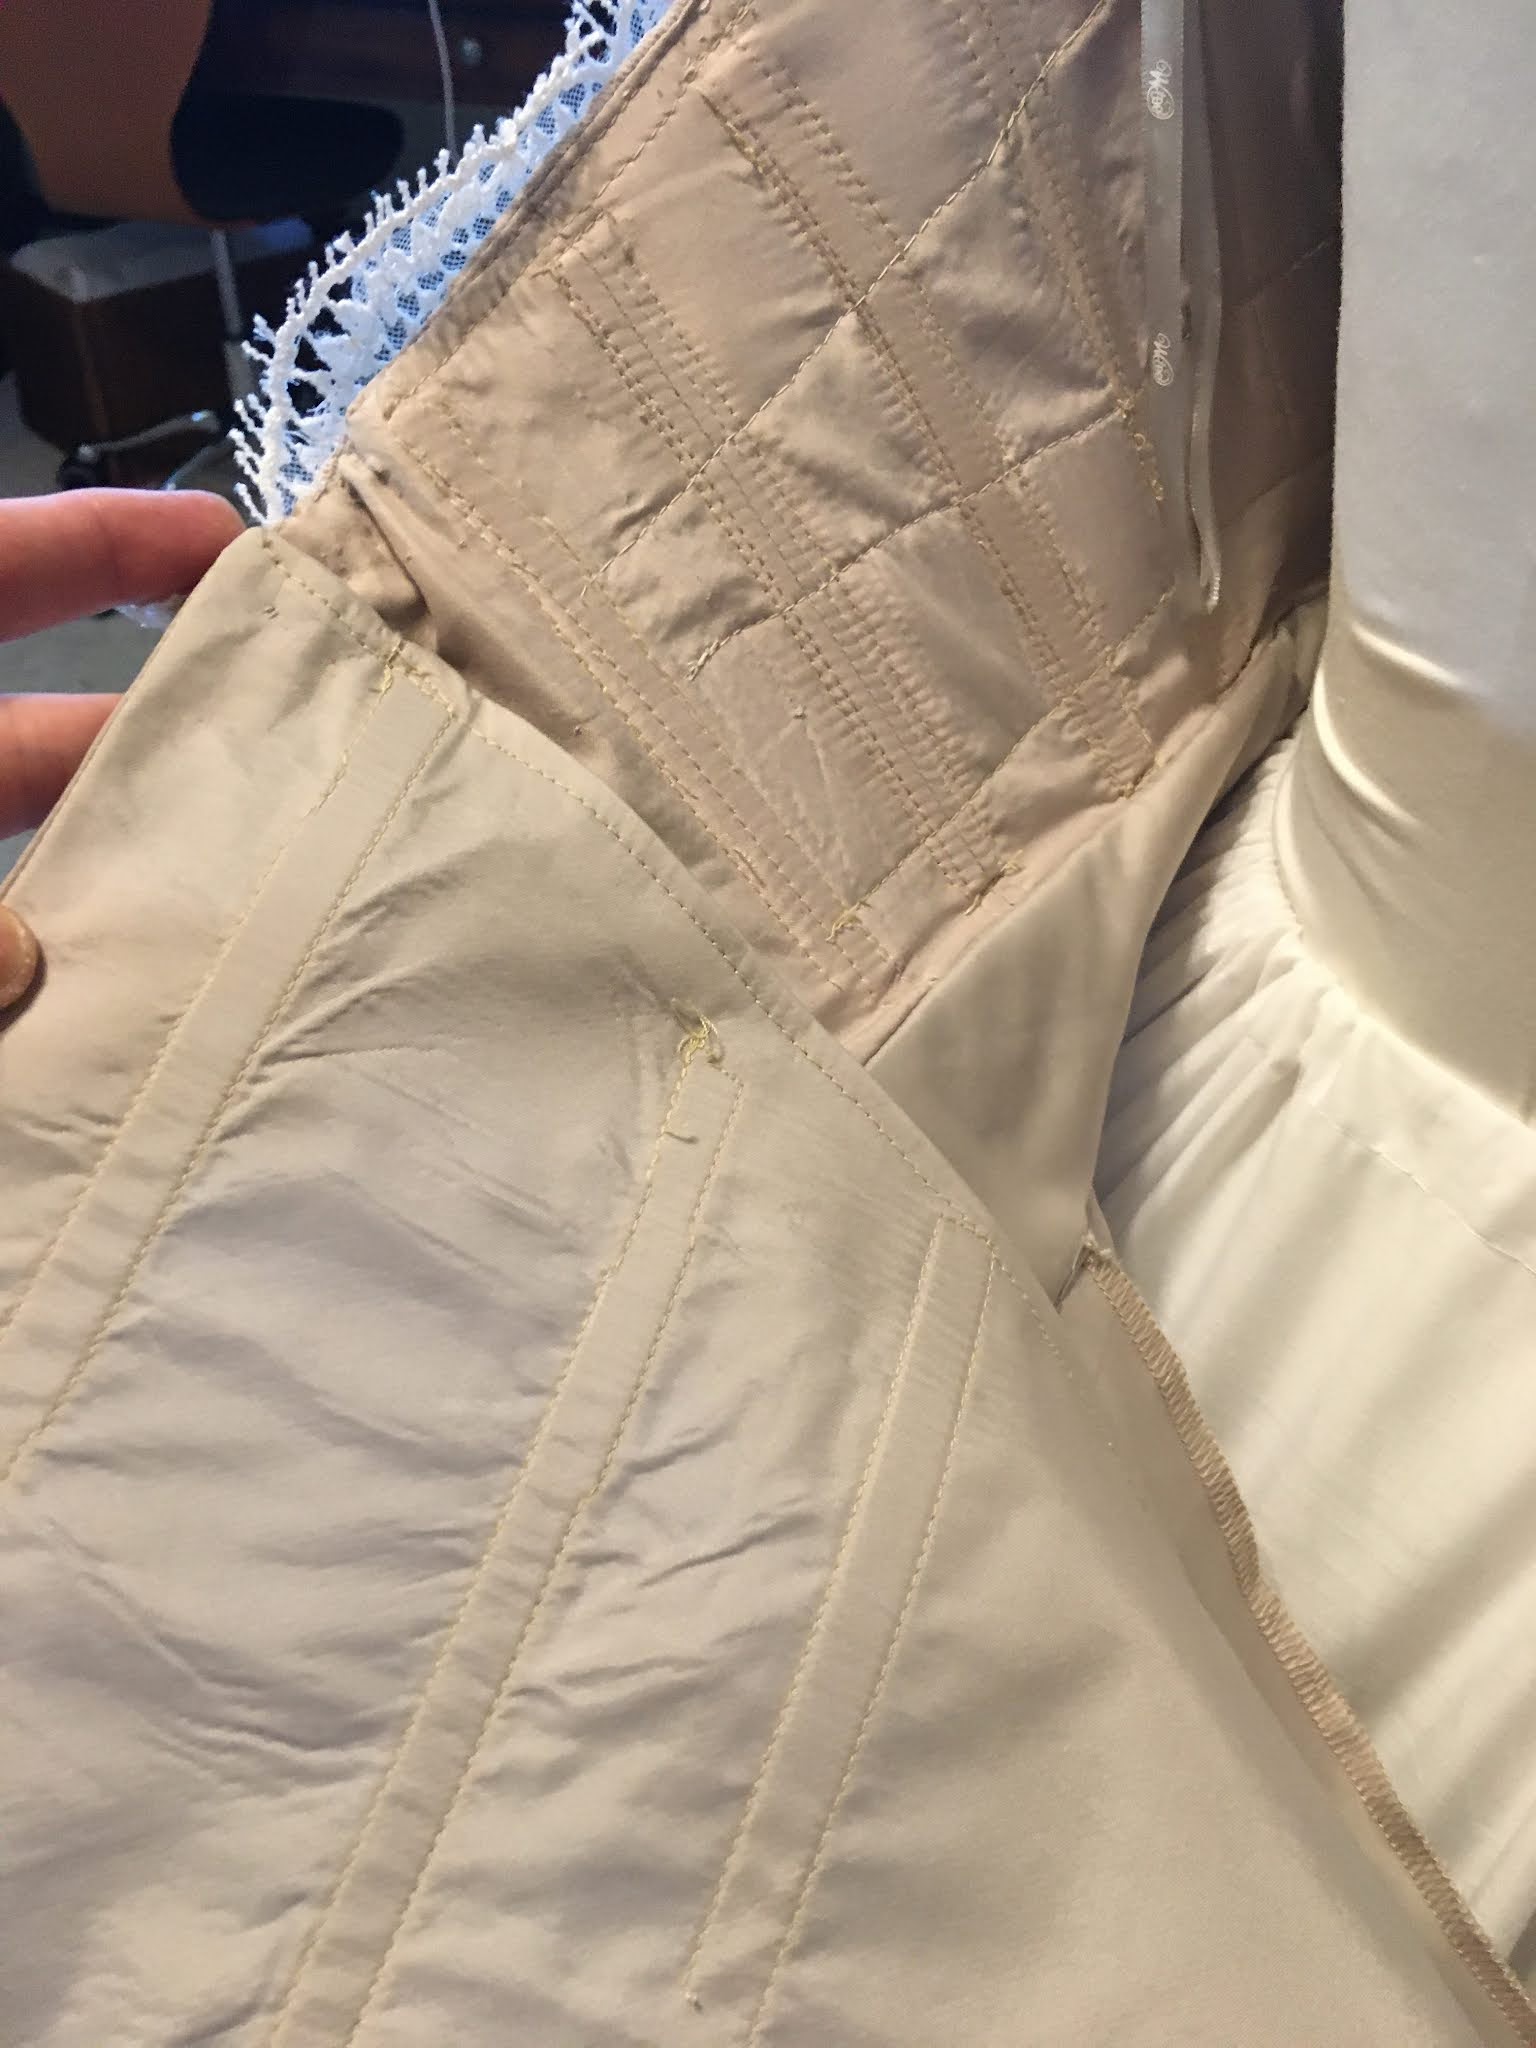
Additional support - Steel boning was added to give more support and structure to the bodice. I added casing over the existing plastic boning and slid steel boning into each casing. I also added 2 inch wide horsehair braid - I’ve done this in past along the inside top edge of a bodice but wanted to add some stability across the middle of the bodice. There was no stabilizer or interlining in the dress, adding horsehair braid across the middle of the bodice from side seam to side seam helped. |
| Adding casing over existing boning |
 |
| Measuring steel boning |
 |
| Cutting the boning |
 |
| Inserting the boning into the casing |
 |
| Everything back in place - right side |
 |
Everything in place,
including modesty panel - left side |
If you’re wondering why I chose to use this boning instead of spiral- I don’t really have a reason other than inexperience. I’ve always used plastic boning and was very unsure of the spiral, and didn’t have time to play so I went with what behaved similar to plastic boning. Since working on this dress I have used spiral boning and prefer that because of it’s flexibility - love it!
Thank you to this beautiful bride for asking me to add some “fairytale magic” to her dress.


 The layers of crinoline really made a difference.


No comments:
Post a Comment