I had an awesome opportunity to work on part of a costume for a friend of mine. He wanted a white jacket altered to look like one worn by an anime character he was going to dress as for a convention he was attending.
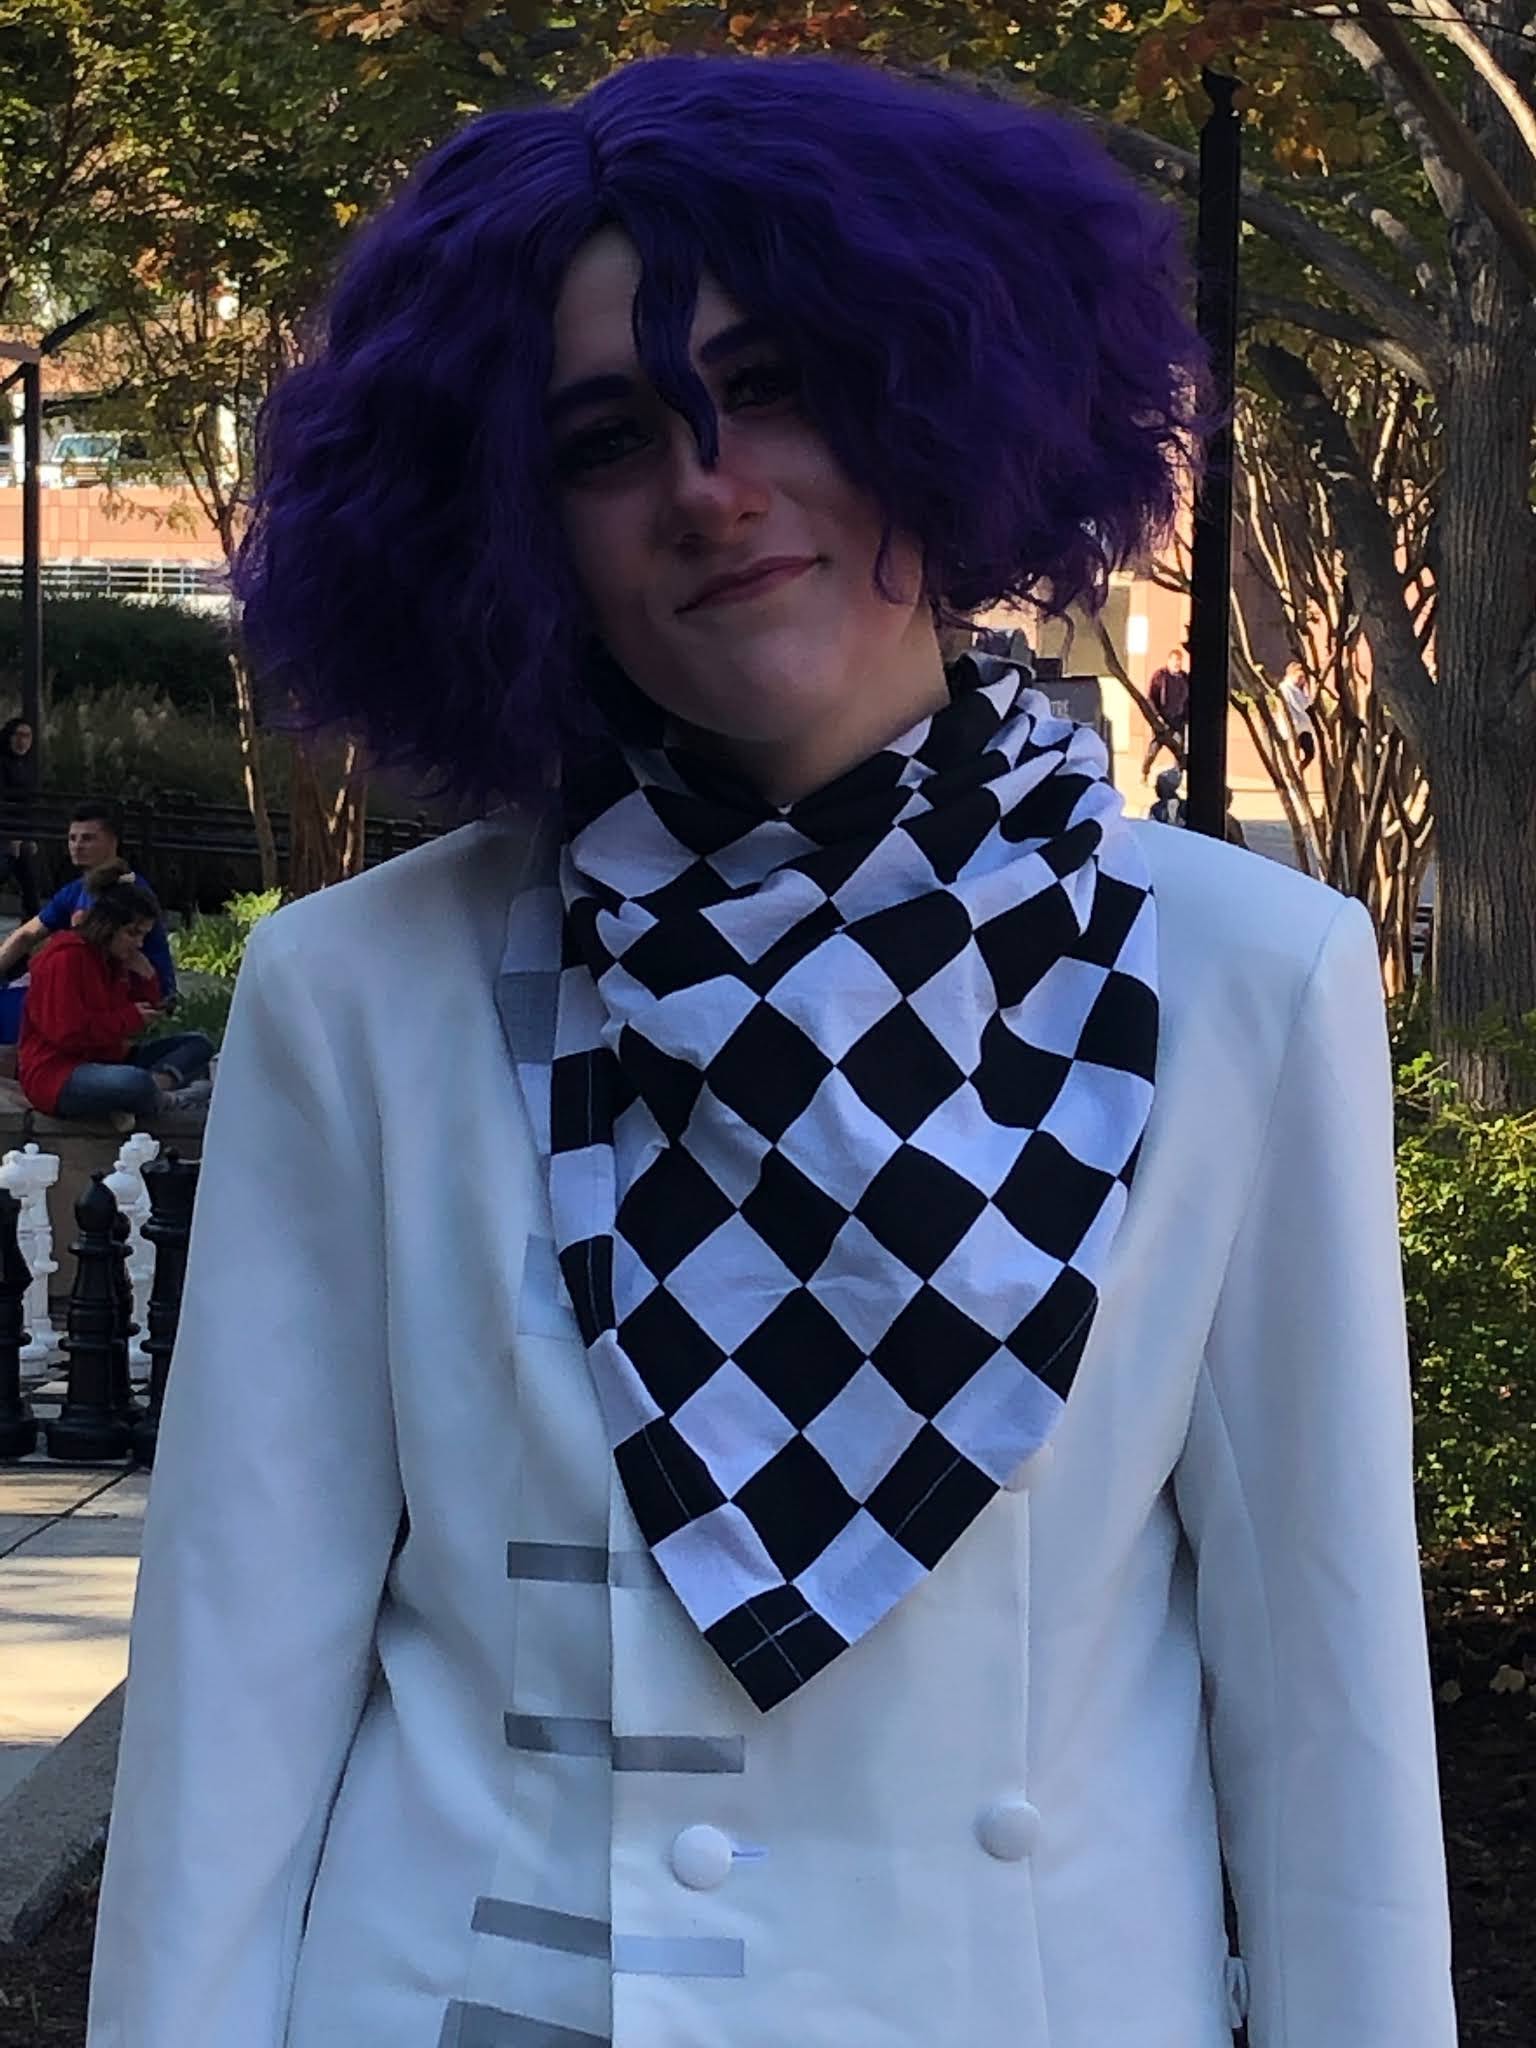
Some costume ideas come to me as a computer generated design, some hand drawn in a sketch book, and some a combination of both. Some characters I recognize right away and some I need to "Google." I needed to "Google" this character. His name is Kokichi Ouma, aka Ultimate Supreme Leader.
 |
| Kokichi Ouma |
Redesigning the Jacket:

I started by opening up the jacket to see how far the two sides overlapped each other. The jacket had a boxy fit so it overlapped nicely. With the sides overlapping each other, it made the collar flip up. I trimmed the collar down to 1.5" and then folded it to the inside, finishing the edge with single fold black seam binding - if you look closely to the photo on the right, you can just barely see the binding.


To make the bands for the sleeves, I used the pocket flaps - there were no actual pockets, so removing them was easy and I was able to turn them into bands for the sleeves.


To add detail to the back of the jacket, I made a slit along the center from the hemline up the center back seam, about 6 inches long. I folded the jacket edges to form a "V" and pinned in place.

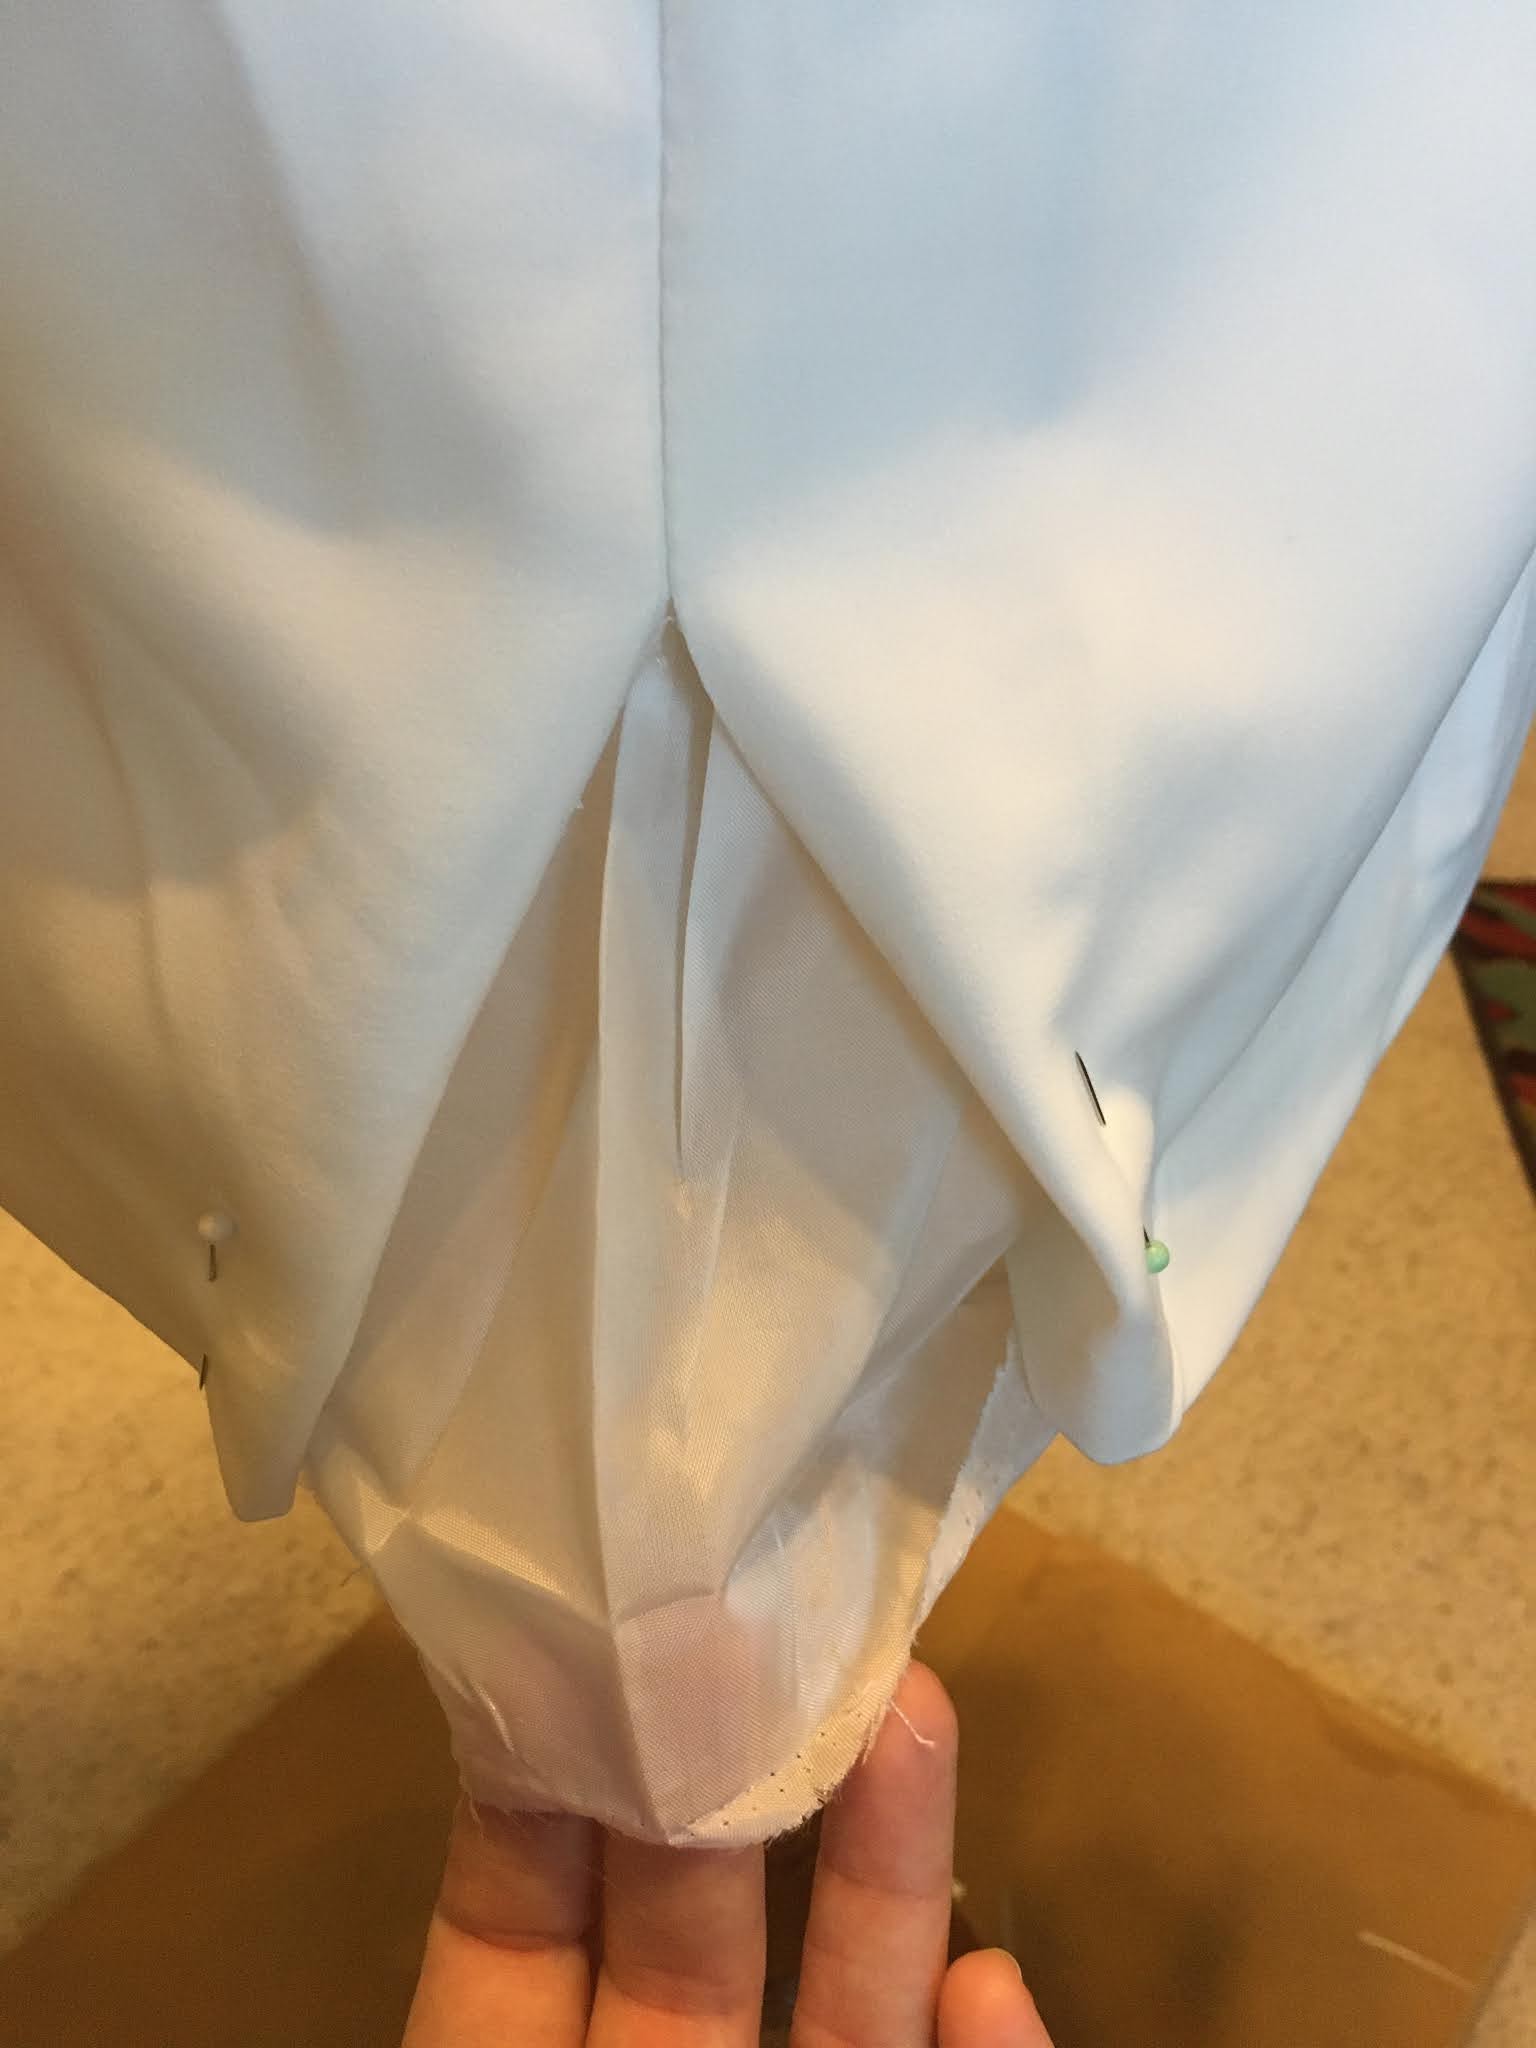
Next, I trimmed the lining to match the "V" and finished the edges with single fold black seam binding.


Now that the jacket was altered, I was ready to start embellishing. The front of the jacket is trimmed with what looks to be buckles of some sort. I wasn't really sure what they were but was confident I could duplicate the look.
|
Using the picture as reference, I drew out my pattern on paper and cut them from silver Cricut Easy On Vinyl. I used vinyl because of the flexibility.
At this point I'm sure some of you are wondering why I cut everything out by hand when there is a machine that can do it faster and more accurately? Me too, every time I grab my detail knife and start cutting out a design - trust me, that handy machine is on my bucket list.


With everything in place, I used my iron press - yes, I do have the Cricut Iron Press and I absolutely love it!!! It applies even heat every time and for the right amount of time! No more counting in my head while applying heat, I just set the timer and wait. LOVE THAT!
The pieces extending past the edge of the jacket were trimmed, folded and pressed to the inside of the jacket.

To give the illusion of "buckles," I placed the matching end of each piece to the other side of the jacket and pressed in place - hoping when the jacket was buttoned, the buckles lined up evenly.
I attached buttons on the front, back and cuffs of the jacket.
The last step was making the scarf. I cut a square out of the fabric similar to what you would for a bandanna and finished the four edges with a 1/2" folded hem.


 |
| Kokichi Ouma |
No comments:
Post a Comment