Tuesday, November 12, 2019

Two Piece Gown in Blush

Inspiration dress #1
What started out as a simple idea for a dress turned into one of the most unique dresses I've made so far.

Making a dress for someone is a process.  Sometimes the pattern I make hits the mark and sometimes it doesn't.  It's like going into a store, seeing the perfect dress hanging on a rack, taking it to the dressing room knowing you found "the one," trying it on and realizing it isn't what you want after all.

The idea for this dress started from "inspiration dress #1" but turned into another during the pattern fitting appointment and then a few days later, turned into another idea altogether.

A few days after the appointment, the bride texted me pictures of what she really wanted - a two piece, off the shoulder 'boho' style dress.  This sweet bride had a style all her own and I was determined to make something that showcased that. Now that we knew where we were headed, I created a new pattern and a few days later, she was back in my sewing room - this time, smiling and more relaxed in her two piece, loose fitting "dress to be."  Seeing her in the pattern, I knew this was it but more importantly, she knew it was the one.


New Inspiration:
Inspiration Dress #2
Inspiration Dress #3

The idea was to combine the "likes" of these three inspiration dresses - the tulle skirt of dress #1, the waistband and bodice shape of dress #2 with the off the shoulder detail dress #3.  Looking at all three inspiration dresses, there were parts of each the bride liked and I wanted to create a dress that encompassed as much of those details as I could.

The muslin pattern:


For the skirt, I used Butterick pattern #4131- I liked the shape of the skirt and length of the train.  For the bodice, I used Simplicity pattern #8599, altering the sleeve length.


The fabric: Blush with a hint of ivory

Tulle for skirt - Eggnog (ivory) & Rosewater (blush)
https://www.joann.com/casa-collection-solid-tulle-fabric-57/zprd_16057598a.html
I know the difference in the two colors of tulle is subtle, very subtle.  Mixing eggnog (ivory) and rosewater (blush) tulle gave more softer look. This may just have been from my view, but having three layers of eggnog made the overskirt look more ivory than blush, adding just that one layer of rosewater (blush) made a difference to me.


Mystique Nu Satin - Blush
https://www.voguefabricsstore.com/mystique-satin-nu-blush-sr-mystisat-nublsh.html

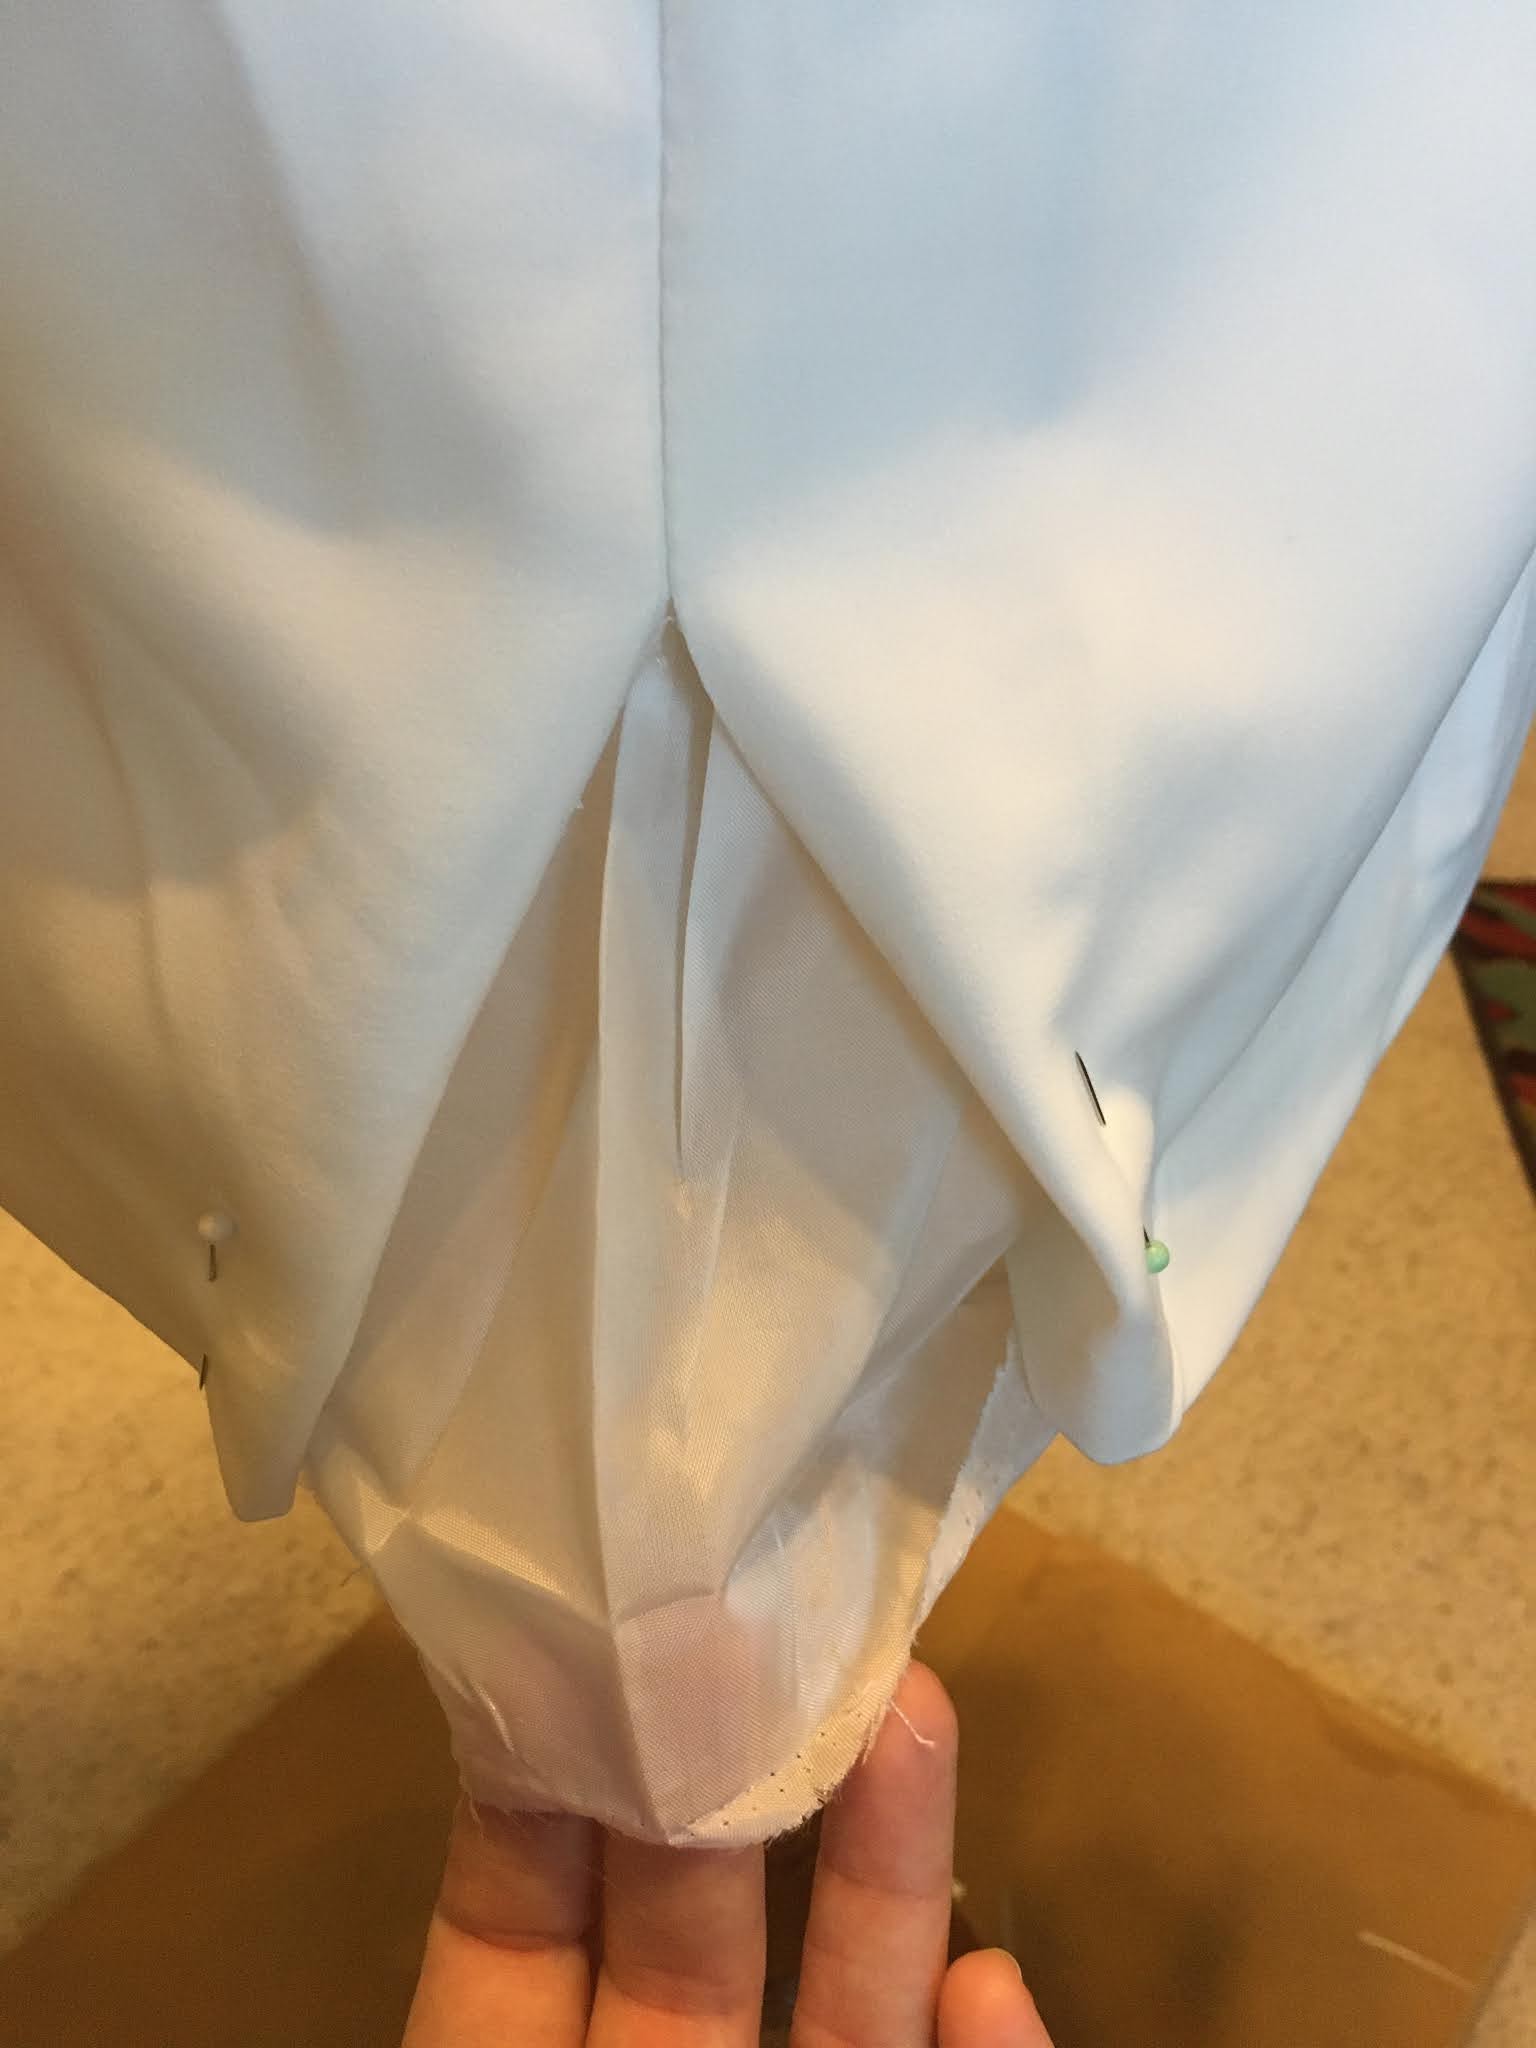
Putting the bodice and skirt together:

Pinning the front bodice, the shape is coming together.

View of the back side of the bodice. Not sure how I wanted
to close the back - zipper or loops and button.
One sleeve attached with just the front skirt
pinned.

Both sleeves have been added to the bodice. The back
of the skirt was coming together nicely.
Satin underskirt is complete.
First layer of eggnog (ivory) tulle,
can hardly tell it's there.
Second layer of tulle (rosewater, blush),
starting to take some shape.
Third layer of tulle, eggnog (ivory.)

Adding pockets...
Pinning on the pockets.

Pockets completed.
Finished skirt.


Final details:


Checking the length of the bodice, hits
right at the waistband.


Ivory loops and blush satin covered buttons
added to bodice back.

I loved the journey of this dress.  Thank you Logan for not being afraid to change your mind, for telling me what you wanted all along the way.  Congratulations!


Photography by Lauren Janiak

Photography by Lauren Janiak


Saturday, November 9, 2019

Not Your Everyday White Jacket

I had an awesome opportunity to work on part of a costume for a friend of mine.  He wanted a white jacket altered to look like one worn by an anime character he was going to dress as for a convention he was attending.

Some costume ideas come to me as a computer generated design, some hand drawn in a sketch book, and some a combination of both.  Some characters I recognize right away and some I need to "Google." I needed to "Google" this character. His name is Kokichi Ouma, aka Ultimate Supreme Leader.

Kokichi Ouma


Redesigning the Jacket:


I started by opening up the jacket to see how far the two sides overlapped each other.  The jacket had a boxy fit so it overlapped nicely. With the sides overlapping each other, it made the collar flip up.  I trimmed the collar down to 1.5" and then folded it to the inside, finishing the edge with single fold black seam binding - if you look closely to the photo on the right, you can just barely see the binding.


To make the bands for the sleeves, I used the pocket flaps - there were no actual pockets, so removing them was easy and I was able to turn them into bands for the sleeves.


To add detail to the back of the jacket, I made a slit along the center from the hemline up the center back seam, about 6 inches long. I folded the jacket edges to form a "V" and pinned in place.


Next, I trimmed the lining to match the "V" and finished the edges with single fold black seam binding. 


Now that the jacket was altered, I was ready to start embellishing.  The front of the jacket is trimmed with what looks to be buckles of some sort.  I wasn't really sure what they were but was confident I could duplicate the look. 


Using the picture as reference, I drew out my pattern on paper and cut them from silver Cricut Easy On Vinyl.  I used vinyl because of the flexibility. 

At this point I'm sure some of you are wondering why I cut everything out by hand when there is a machine that can do it faster and more accurately? Me too, every time I grab my detail knife and start cutting out a design - trust me, that handy machine is on my bucket list.  


Using blue painter's tape, I temporarily positioned the pieces in place on the jacket front.  I chose tape because it makes repositioning the pieces easy and there's no chance of leaving pin holes or clip indents on the pieces.


With everything in place, I used my iron press - yes, I do have the Cricut Iron Press and I absolutely love it!!!  It applies even heat every time and for the right amount of time!  No more counting in my head while applying heat, I just set the timer and wait.  LOVE THAT!

The pieces extending past the edge of the jacket were trimmed, folded and pressed to the inside of the jacket.


To give the illusion of  "buckles,"  I placed the matching end of each piece to the other side of the jacket and pressed in place - hoping when the jacket was buttoned, the buckles lined up evenly.


I attached buttons on the front, back and cuffs of the jacket.


The last step was making the scarf.  I cut a square out of the fabric similar to what you would for a bandanna and finished the four edges with a 1/2" folded hem. 


Finished look -


Kokichi Ouma


Thank you to this sweet and oh so talented friend of mine.  I can't wait to help you with a future idea! 


Monday, September 16, 2019

Transforming a 1970's Wedding Dress


I love the story behind this dress.  This 1970's dress was purchased from a consignment store.  The bride liked the shape of the dress, the fabric it was made from, the lace appliques.  She wanted a few changes made.  She wanted the bodice lined so it wasn't sheer in the back and she did not like the sleeves.  She wanted the sleeves short, wasn't sure if she wanted them cap or a little longer so we were going to play with those.


From an alteration viewpoint, only minor adjustments were needed. The bodice was a little gappy along the sides near the sleeves. Darts would fix that. I thought a little wiggle room might be needed after the lining was added so I was going to wait to see on that.  Looking at the side seams, there was room in the seam allowance. In fact, it looked like it was altered before, I was just going to bring it back to the original seam line.  That was cool to see.  And the zipper was worn so that needed to be replaced.

Starting the transformation....

Step 1 -  Removing the sleeves:
Original dress with the darts pinned on each side of the bodice
where I want to adjust the fit.

It already looks like a new dress! 
Step 2  - Adding side darts to the bodice:
I needed to remove the lace appliques.

With the lace appliques out of the way, I measured where
I wanted the darts to be.

I took in 3/4" at the armhole, the dart length was about
2 1/2" long.

Finished dart.
I did not replace the appliques at this point because I still needed to sew in the sleeves and needed to have everything out the of the way.  So the dress looked like a wreck at this point.

Step 3 - Adding lining to the bodice:

Before
After - Lining added along with loops. The new lining
was not attached to the original sheer along the back
opening.  I liked that look down the center line.  

Eighteen covered buttons added. 

Step 4 - Adding the short sleeves. At first, we were going to make cap sleeves, just over the shoulder, but needed a bit more coverage so we added some length to the sleeves.

Sleeve pattern laid out on satin.

I used as much of the original dress as I could.  For the overlay
on the new sleeves, I used the sheer from the original sleeves


Original sheer overlay pinned and ready to baste to new
sleeve.

New sleeves ready to be attached to dress.
New sleeves.

Finished sleeve with appliques.  At this point I also
reattached the appliques to the bodice to hide dart lines.


Step 5 -  Adding some wiggle room to the waistline. I let out 1" from each side seam at the waistline - I ended up bringing it back to the original seam line, just as I thought in the beginning when I looked over the dress.

1" removed from where the side seam meets the skirt.

Skirt sewn back into place.
Step 6 - Adding length to the front skirt.  I was able to trim 3 inches from the back underskirt and add that to the front. 

The underskirt extended about 3 inches past the tulle
over skirt.  This was what I needed to add to the front.

I trimmed the satin underskirt to meet the edge of the tulle.  Later
I finished the edge with a rolled hem.

Finished front skirt.

Step 7- My favorite part, adding the final touches. 

I was able to use the appliques I removed from the skirt and a few from the sleeves.  

I started with one flower hand stitched along the seam
connecting the skirt to the bodice.  I liked it but wanted it filled
in a little bit more.

So I added another piece.


This was a really fun project for me.  The bones of the dress were already there and we just made minor changes to it without completely changing the style, just making it more fitting for this bride.

Photo by Paige Marilyn Photography

Thank you, Danielle, for asking me to help you transform your "pirate" style dress.  I enjoyed every minute!