This bride has just celebrated her first wedding anniversary - Happy Anniversary, Olivia and Michael!
 |
| Photo by Katelyn Whitehead Photography |
I met with Olivia, her mom, and her sister at the beginning of November 2020 in her soon to be mother-in-law’s kitchen.
Sometimes when I “meet” a dress for the first time, I’m not really sure what direction I’ll go to alter what needs to be altered. Each dress I work on is as different as the one that came before it and the one before that. The fit varies even more because no two brides are alike - and by that I mean, style - how they want the dress to fit. Some brides want a very form fitting dress, some brides want loose, some want color added, some more fullness, some less and so on. Olivia liked where the “off shoulder” sleeves sat on her upper arms. When I started to figure out a plan for her dress, I wanted to make sure I didn’t change that.
There were three main areas that needed attention with this dress - the center back seam, the sleeve length and the hemline.
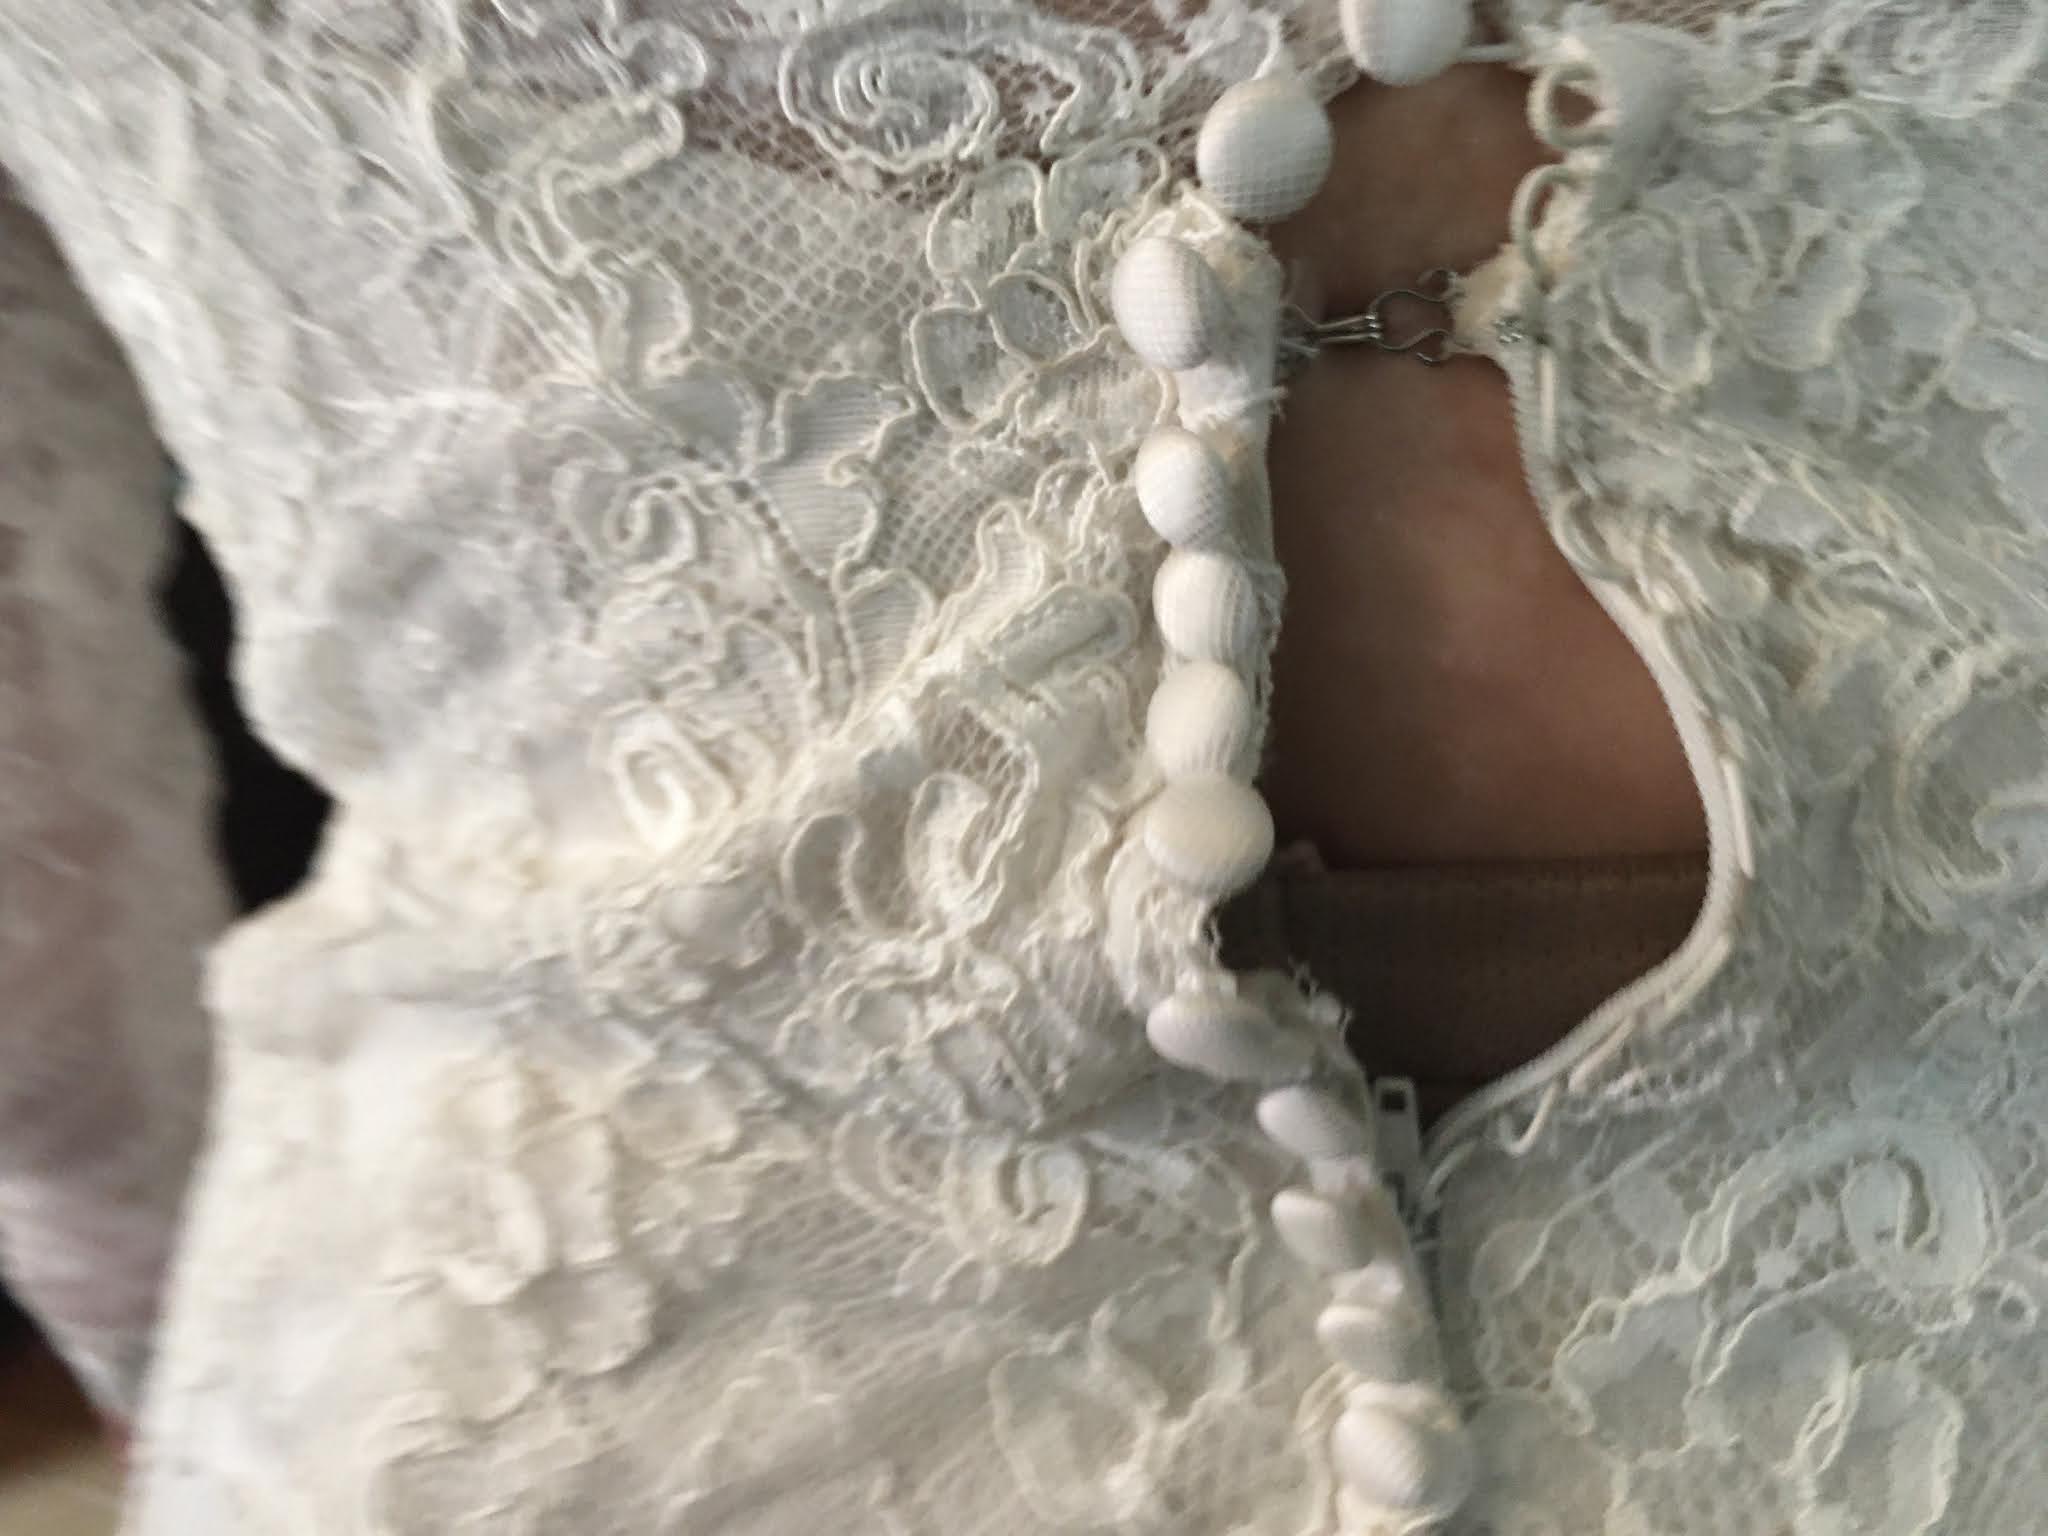
The first area I focused on was the back. There was about a 4” space along the zipper line where the dress needed to come together.
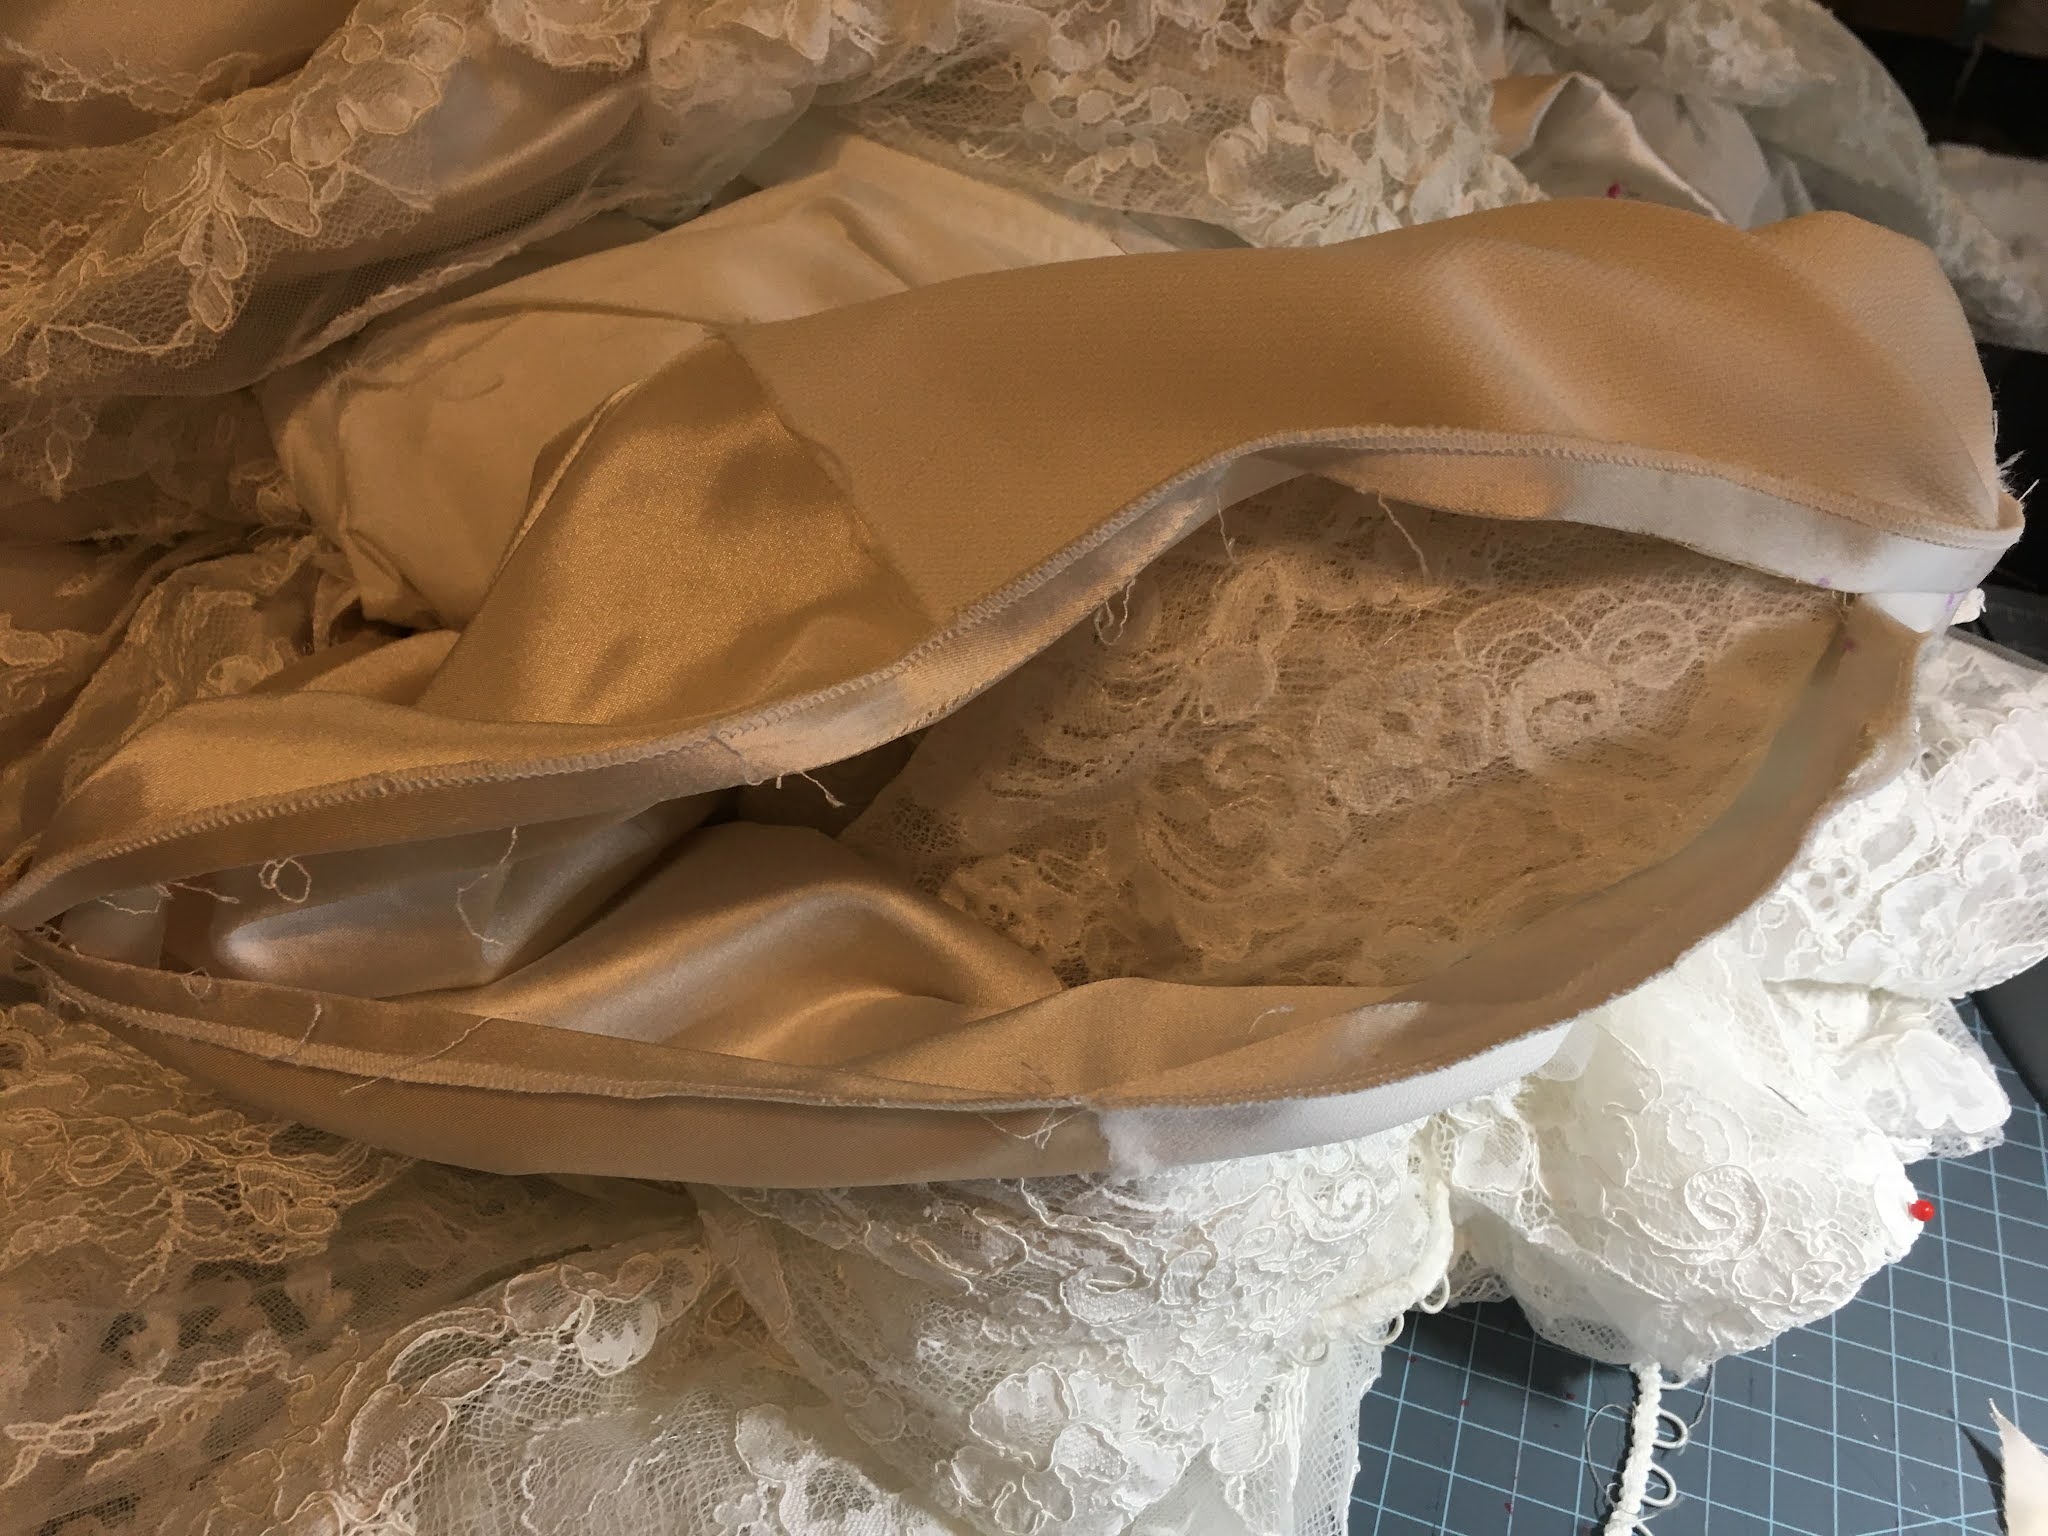
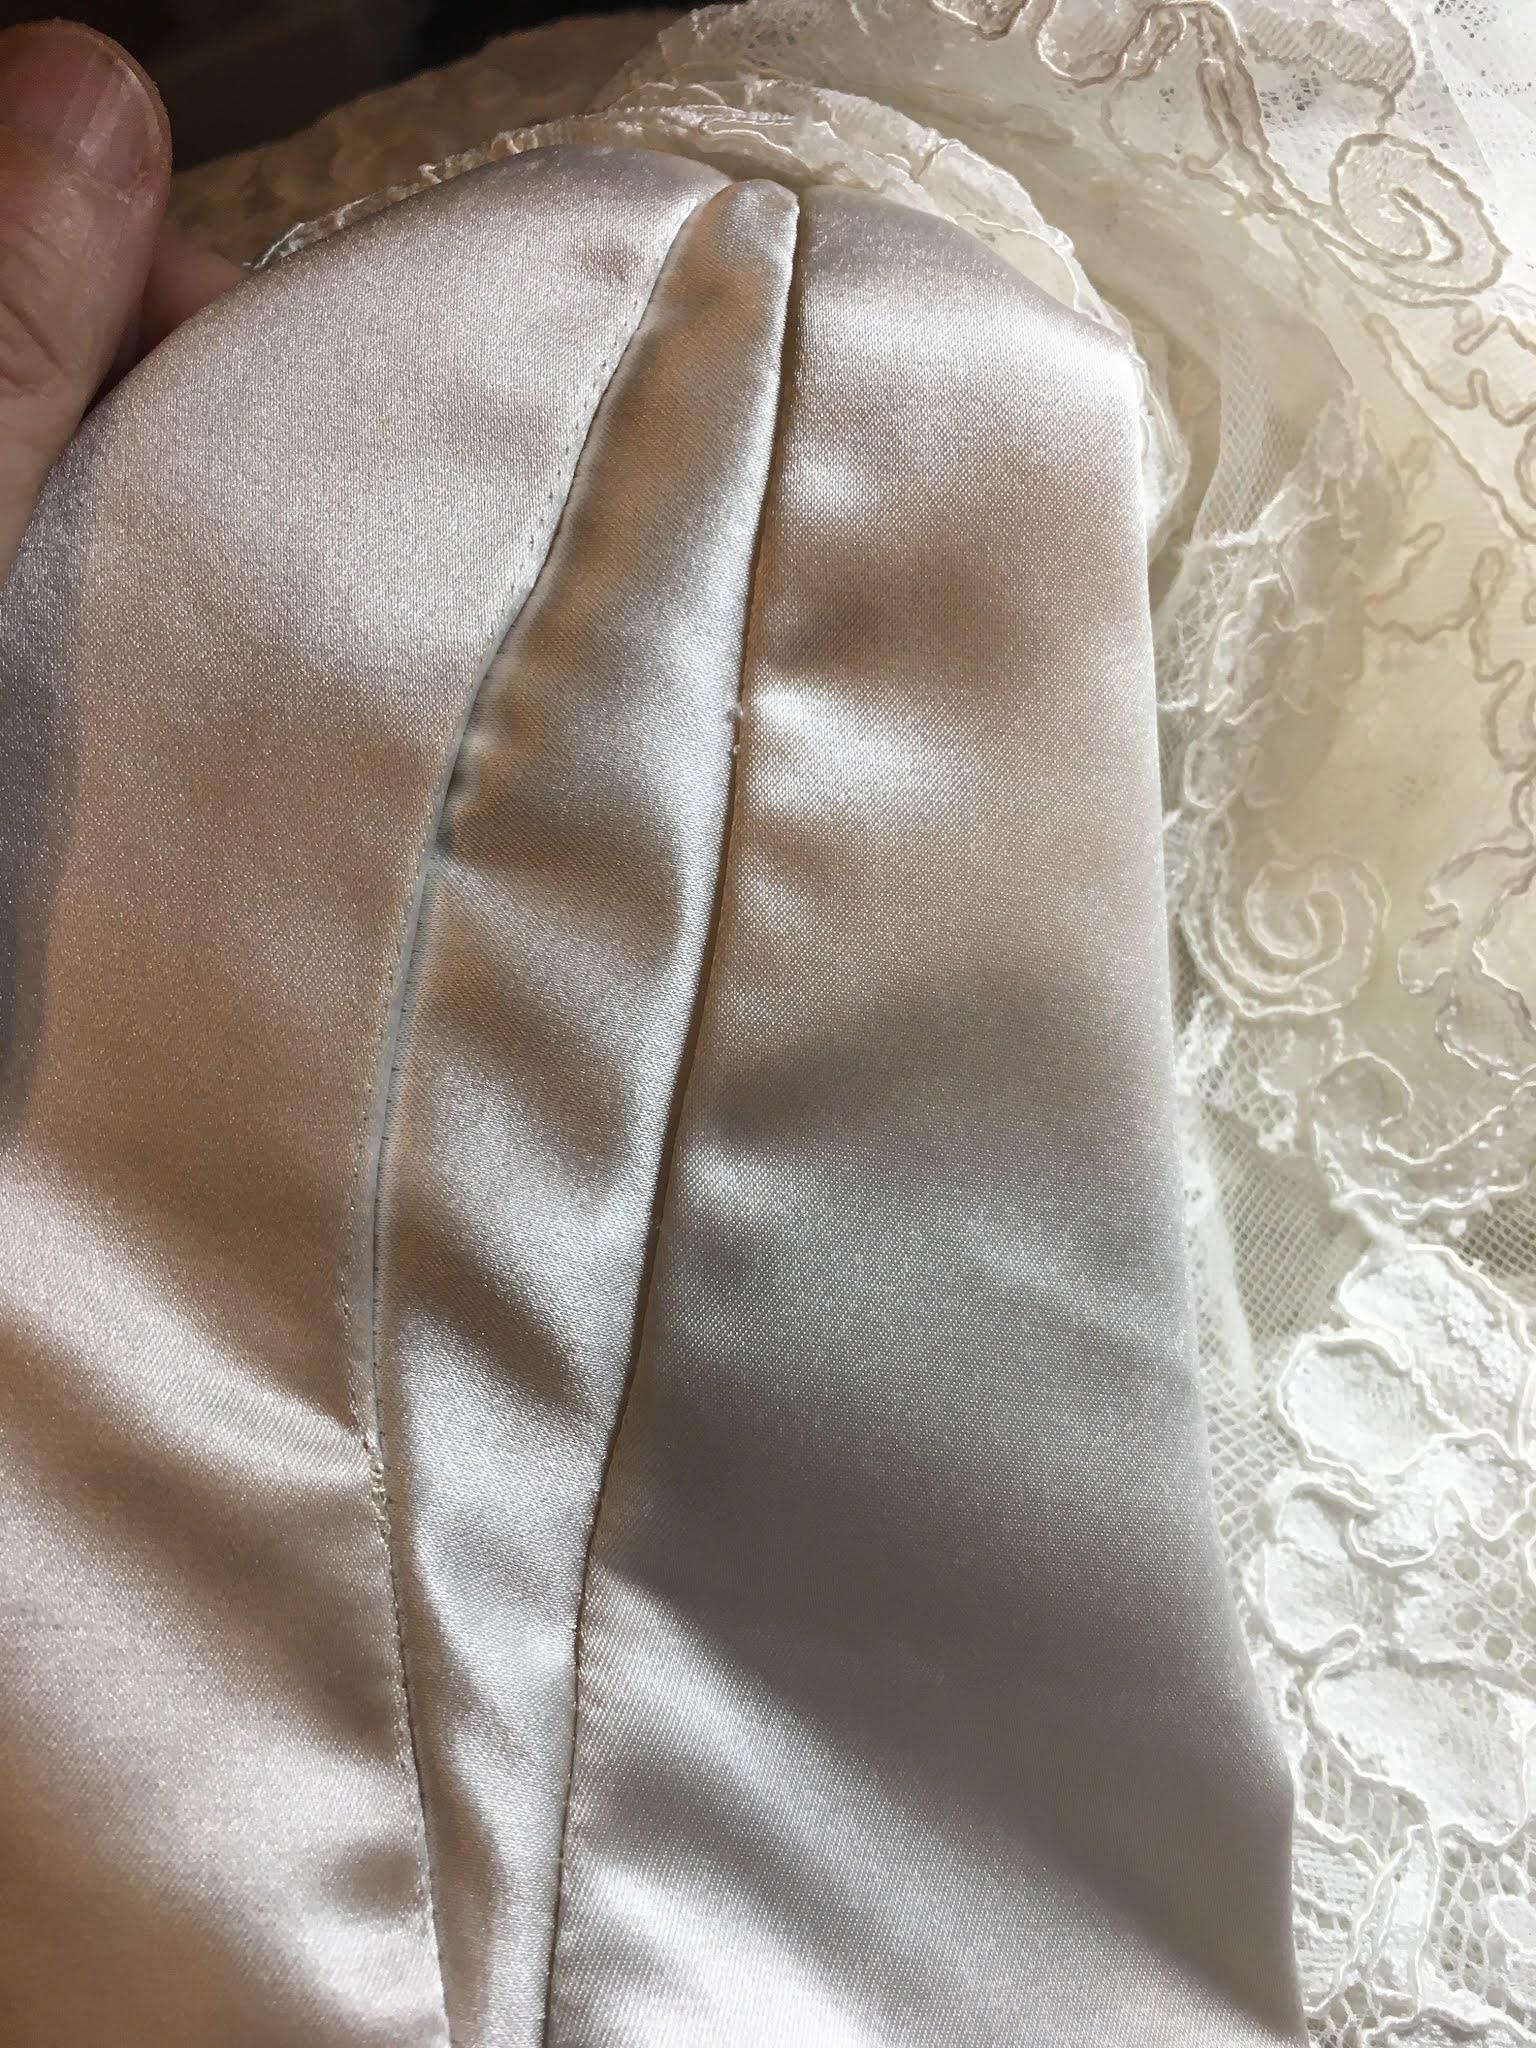
My first thought was to let out the side seam allowances. After doing so, the back still didn’t come together. I decided to create more room by adding a panel to each side seam to bring the center back seam together nicely. Knowing I would be hemming the bottom front edge of her dress about 4-6”, I used the excess fabric to create the new side hip panels. The lace overlay was stretchy and I was hoping there would be enough stretch to fit with the new panels so I didn’t do anything to the overlay, just yet.
 |
Side seam ripped open. New piece would be stitched
in place between pins
|
 |
| Open area |
 |
| New pieces cut |
 |
New piece in place, same was done on
the opposite side
|
The same was done to the lining. “What’s done to the outer fabric needs to be done to the lining.” This is so important to remember, if nothing was changed on the lining piece, the dress would not be a comfortable fit. And the lace overlay did indeed have enough stretch.
 |
There was a curve along the loops/buttons,
I didn’t like that |
I fiddled with the edge where the loops and buttons attached thinking I needed to but all it did was create the curve. Sometimes I overthink how to fix something and usually it turns out to be less complicated than I made it. In this case, I just went in and undid what I did - if that makes sense. The line was straighter and I moved on to altering a few places in the front.
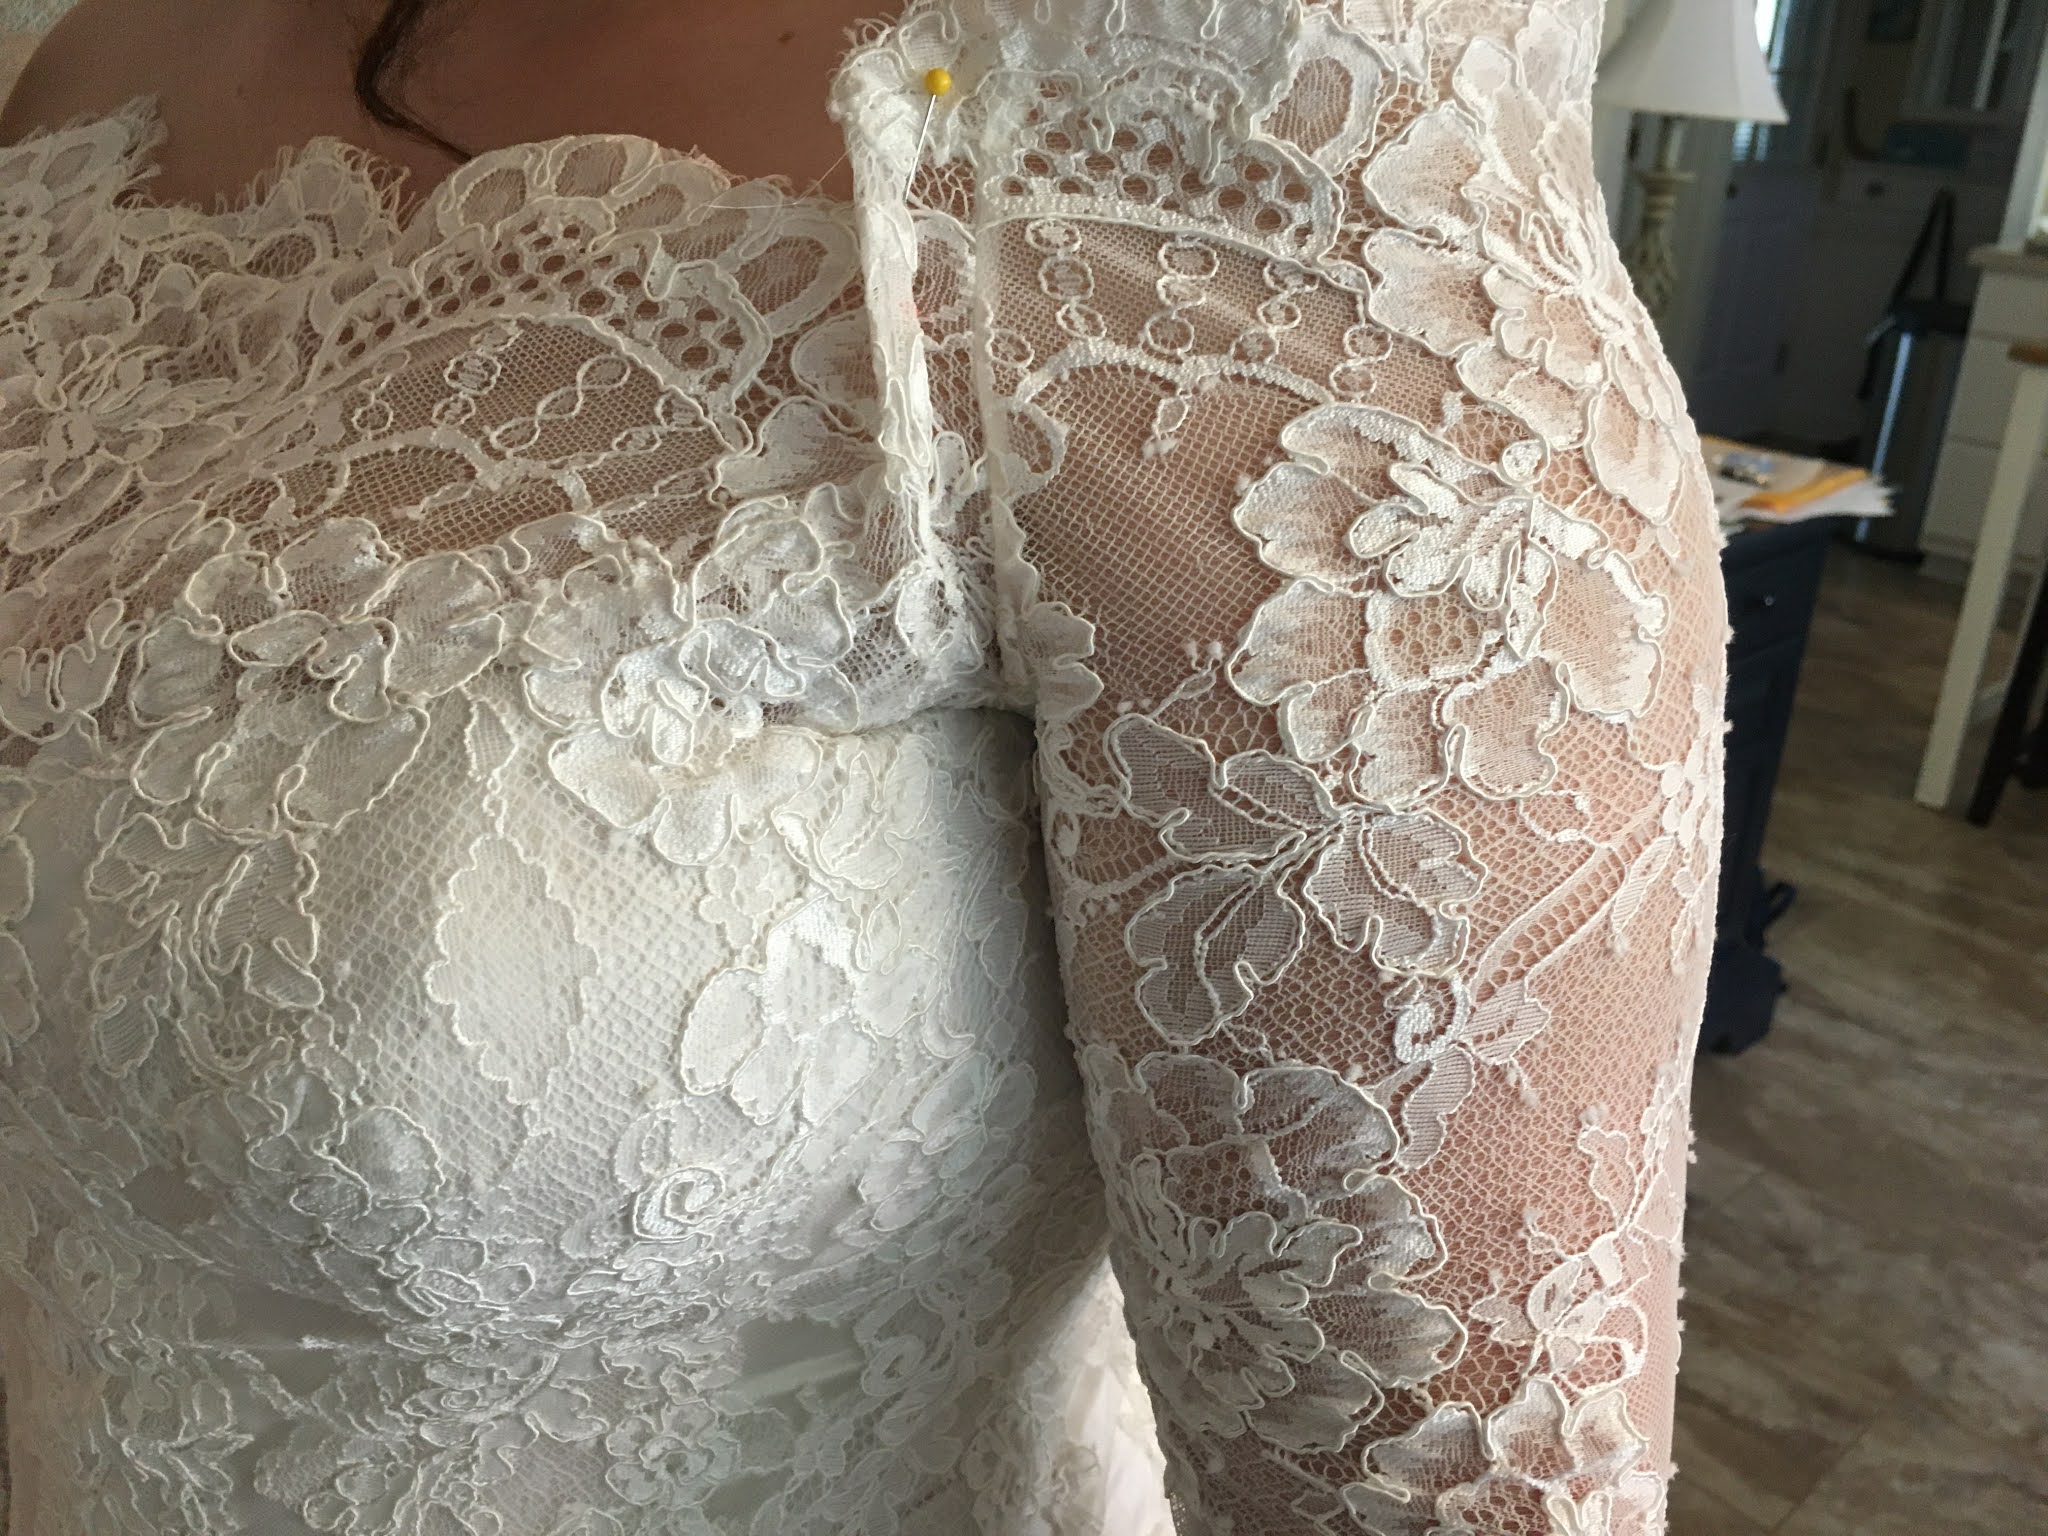
 |
Fixing a gap along the upper bodice where
sleeve connects to the front bodice.
I sewed a dart on the inside, as pinned |
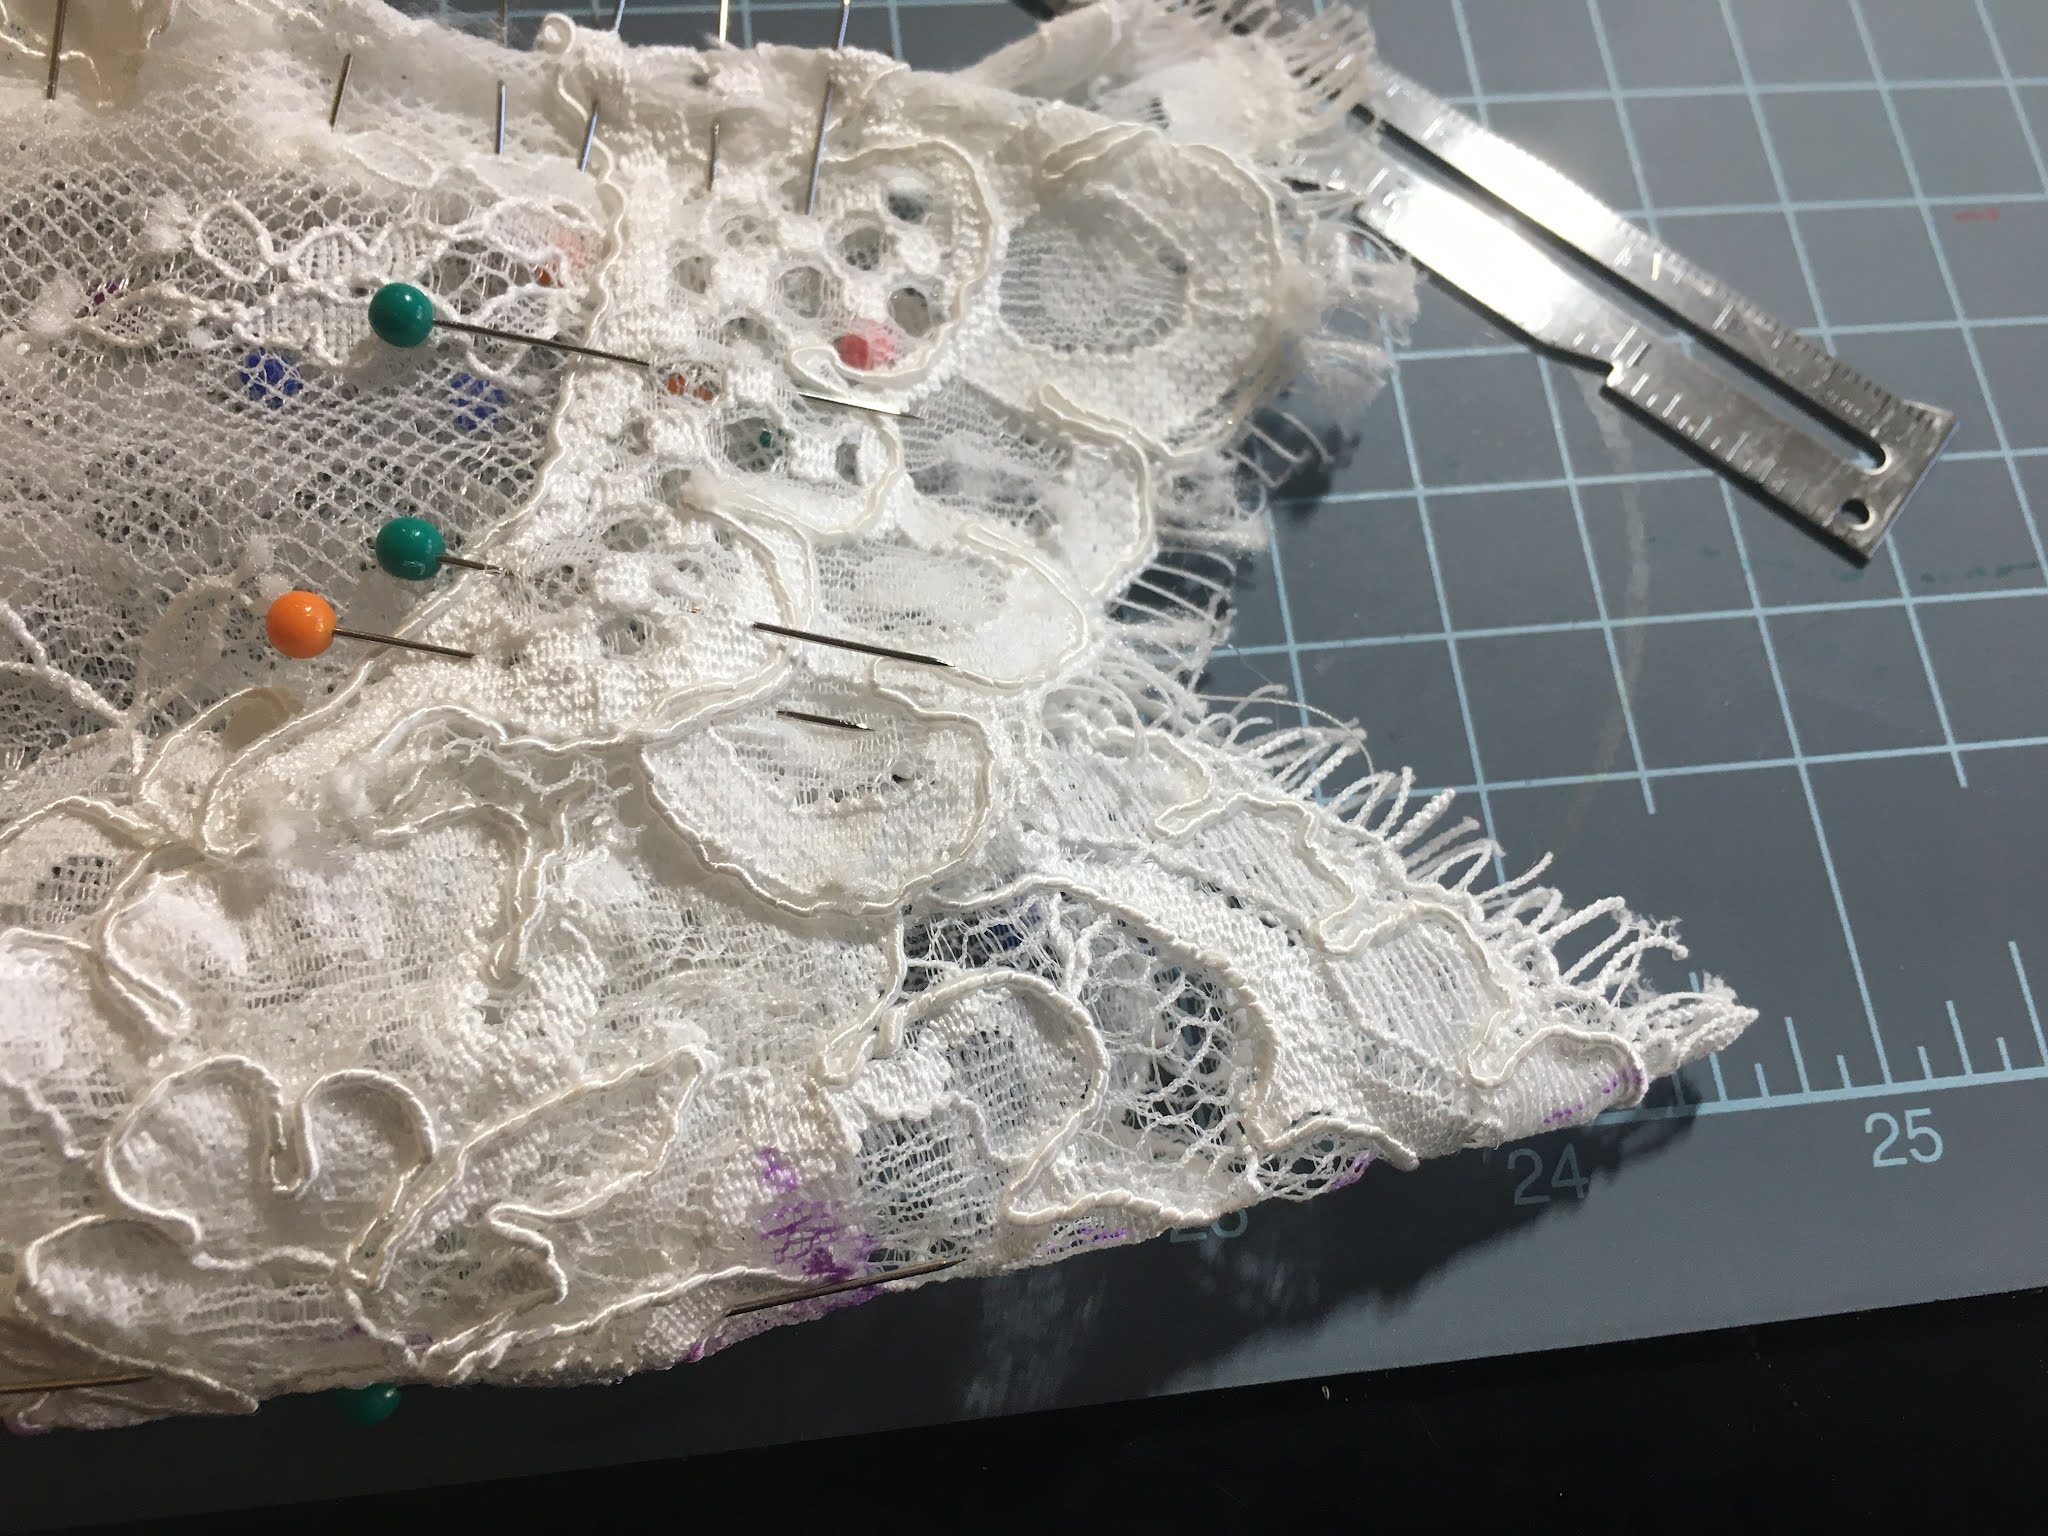
The next part of the dress that needed some attention were the sleeves. The lace sleeves had an eyelash trim piece around the cuff, finished with loops and satin buttons along the inside seam, beautiful. To shorten the sleeves, I first marked the new sleeve length with a purple mark and then with a pin, marked the new opening along the inside seam line where I would reattach the loops and buttons. With everything marked, I removed the trim along the cuff, loops and buttons.
 |
Cuff detail removed, new sleeve line marked in purple,
side opening marked with pin |
I folded the lower edge along the line I marked with a purple water soluble pen. At this point, the bride tried the dress on to make sure the sleeve edge hit where she wanted.
 |
| Sleeve folded, pinned and ready to try on |
Knowing the length was where she wanted, the next step was to cut the sleeve - this part makes me anxious, it’s so final. I’ve started leaving ‘wiggle’ room when I cut anything, if it’s at all possible. In this case, I left about 1 1/2” of wiggle room which was hidden under the eyelash trim. I was breathing easy.
 |
| Sleeve cut to its new length |
Next I pinned the trim in place and folded the inside edges to form a neat hem - ready to reattach the loops and buttons.
 |
| Trim and inside edges pinned in place |
Finished sleeves:
 |
| Front view |
 |
| Inside view |
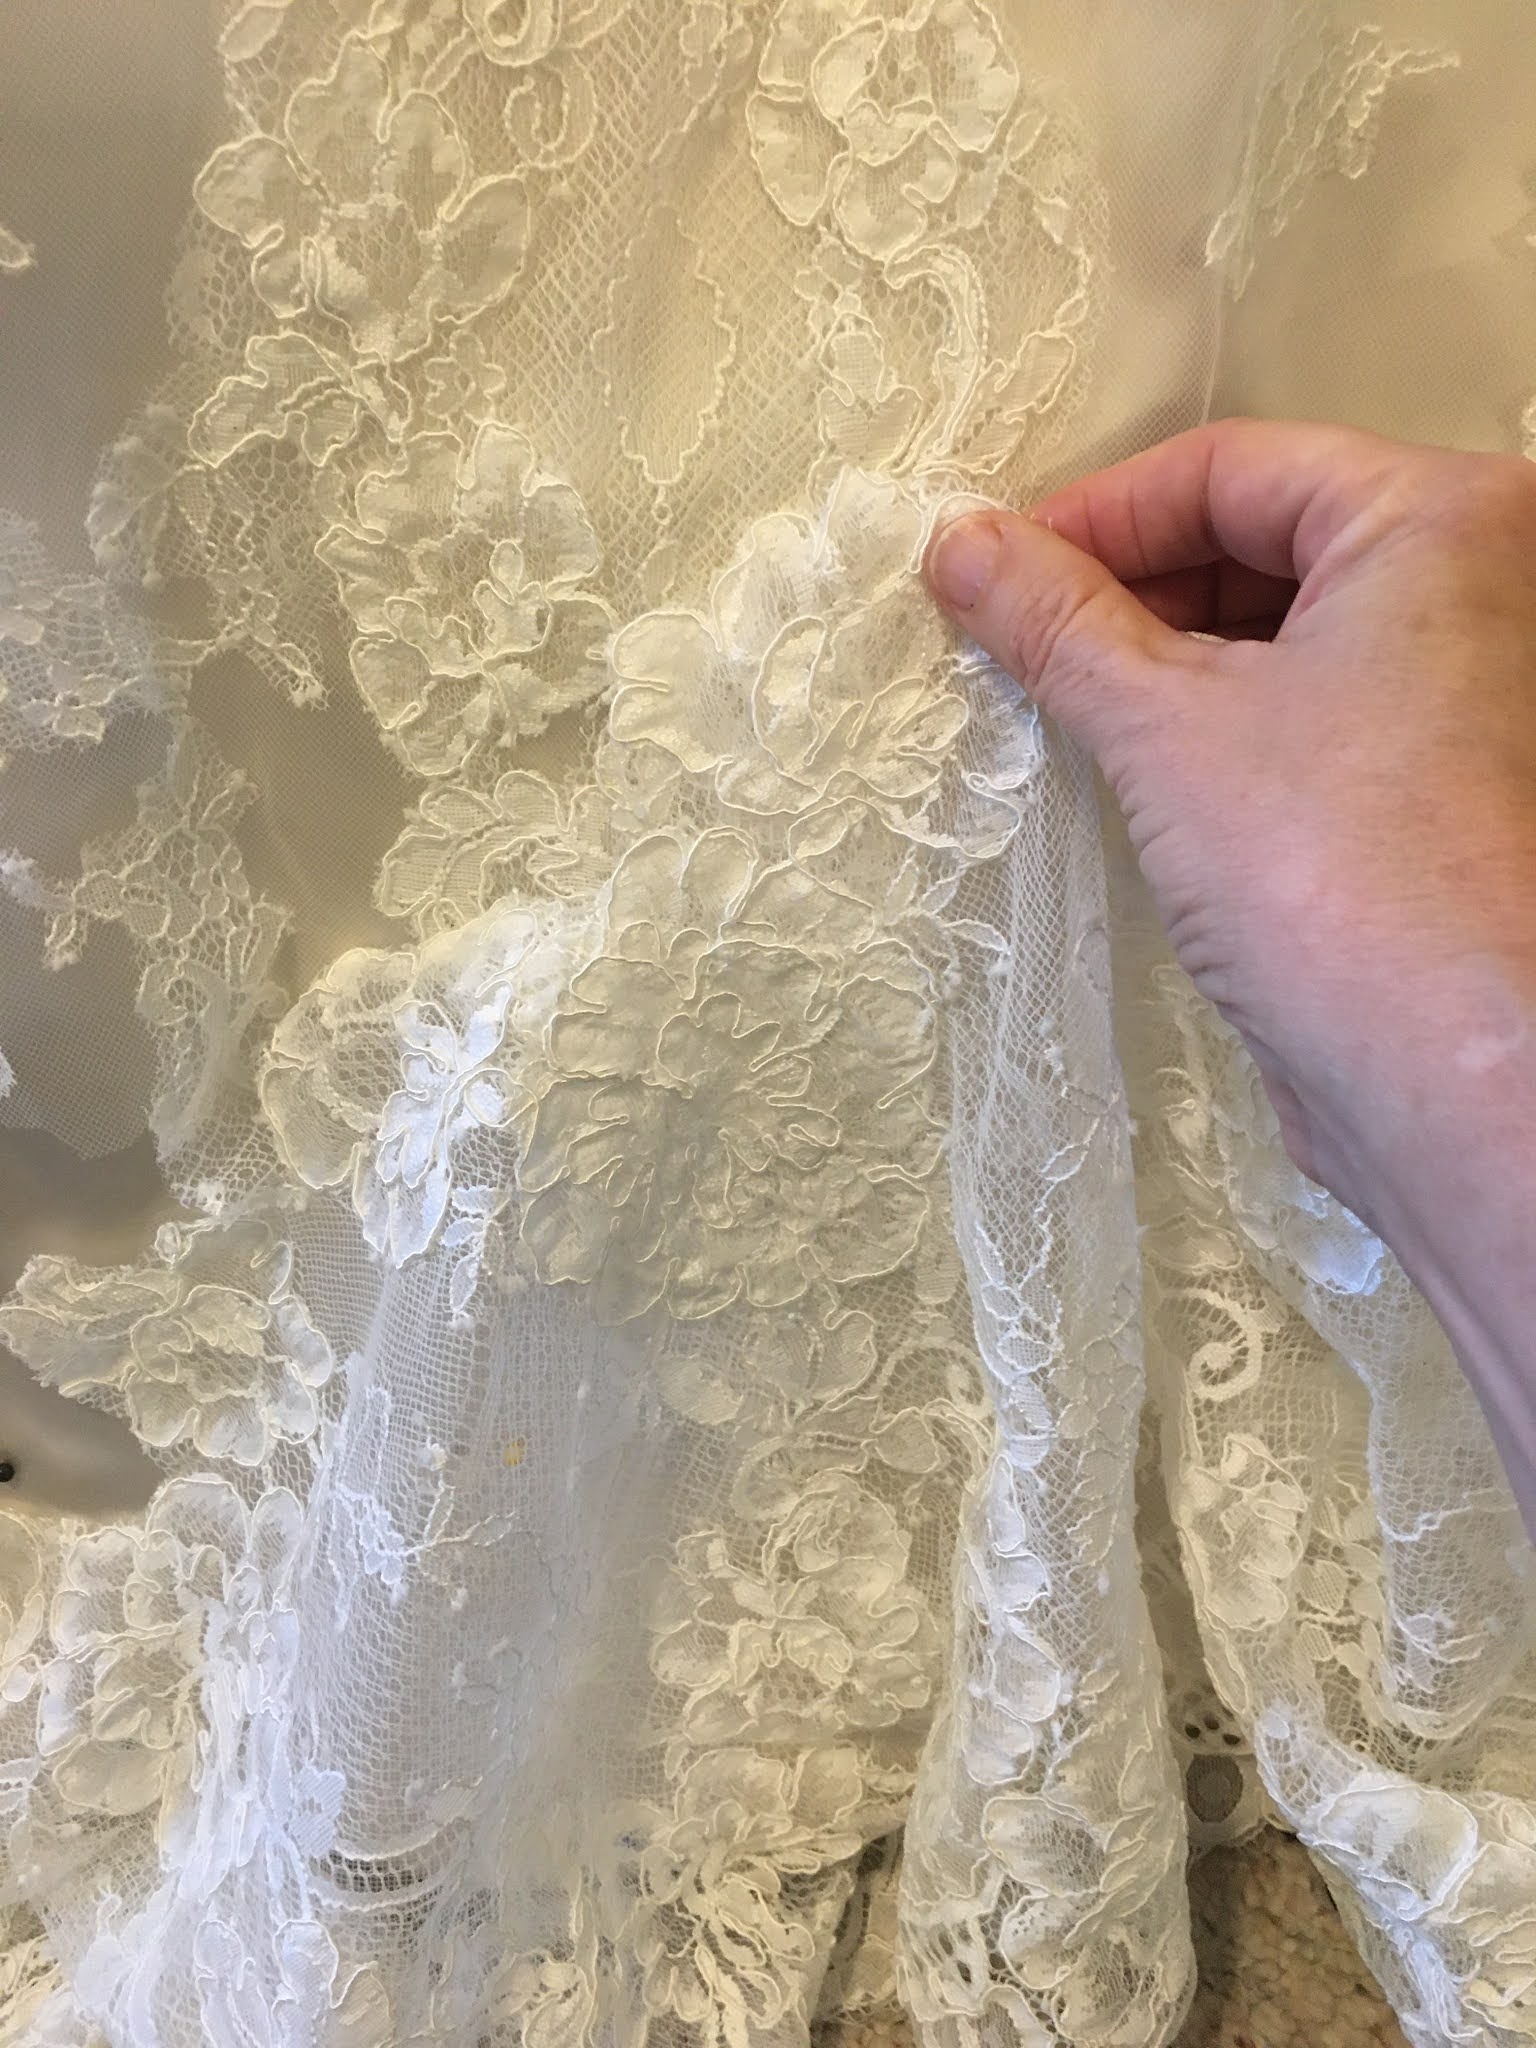
The last part of the dress I needed to work on was the front hemline. As you can see, some length definitely needed to come off.
 |
Satin underskirt hem is pinned, this shows how
much the lace overskirt needs to be taken up |
Starting with the front of the satin underskirt, I pinned the hem in place from one side seam to the other, leaving the train untouched. The hemmed underskirt now acted as a guide for the lace overskirt. The goal was to have the eyelash trim just brush the floor with heels on :) With the satin underskirt pinned in place, I marked out where I wanted to cut the eyelash trim and then cut along that line.
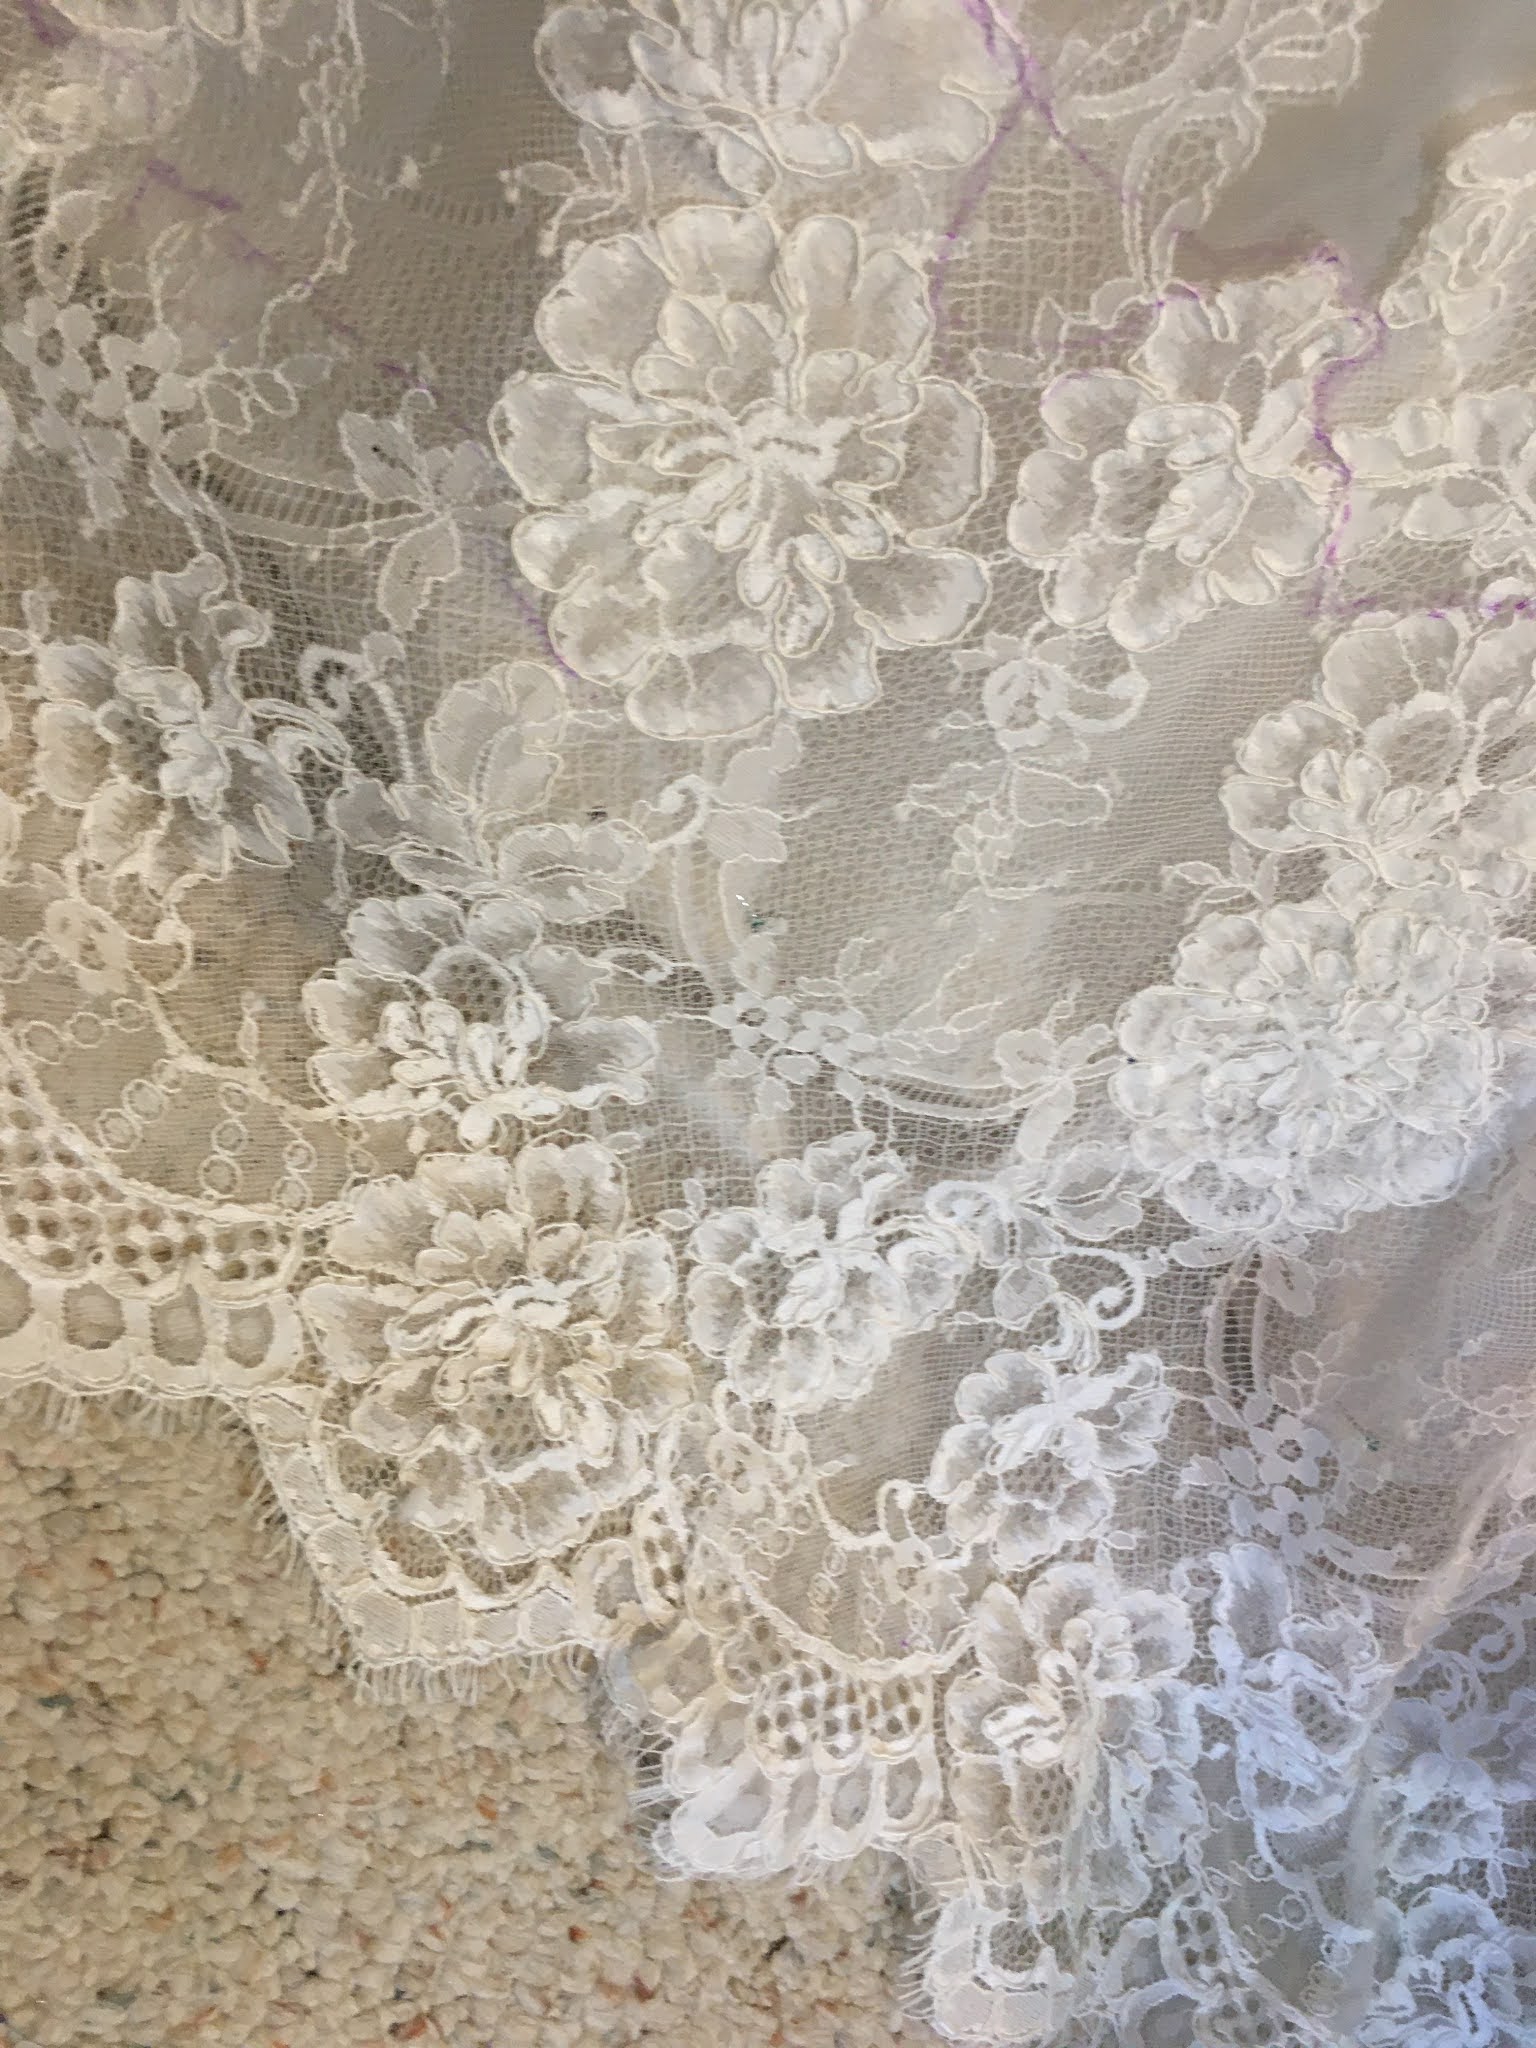
 |
Cut line marked in purple
|
 |
| Cutting the lower part of the overskirt |
 |
| Lower edge off, underskirt pinned in place |
Next step was to reattach the part I just cut off positioning it so the eyelash trim barely touched the floor.
 |
| Playing with the placement |
 |
| Lace trim pinned in place |
 |
Lace trimmed stitched, bottom edge
is where it needs to be |
Final fitting - this time in my sewing room. Notice the shoulders? They are still where she wanted them to be. I try very hard to keep the details brides like about their dresses the same. Sometimes altering changes these details, it can’t be helped. In this case, I was able to keep the sleeves where she wanted.
Thank you, Olivia, for asking me to work on your dress. You are beautiful! Your photos are magical, to me.. something out of a fairy tale.
 |
| Photo by Katelyn Whitehead Photography |
 |
| Photo by Katelyn Whitehead Photography |
 |
| Photo by Katelyn Whitehead Photography |
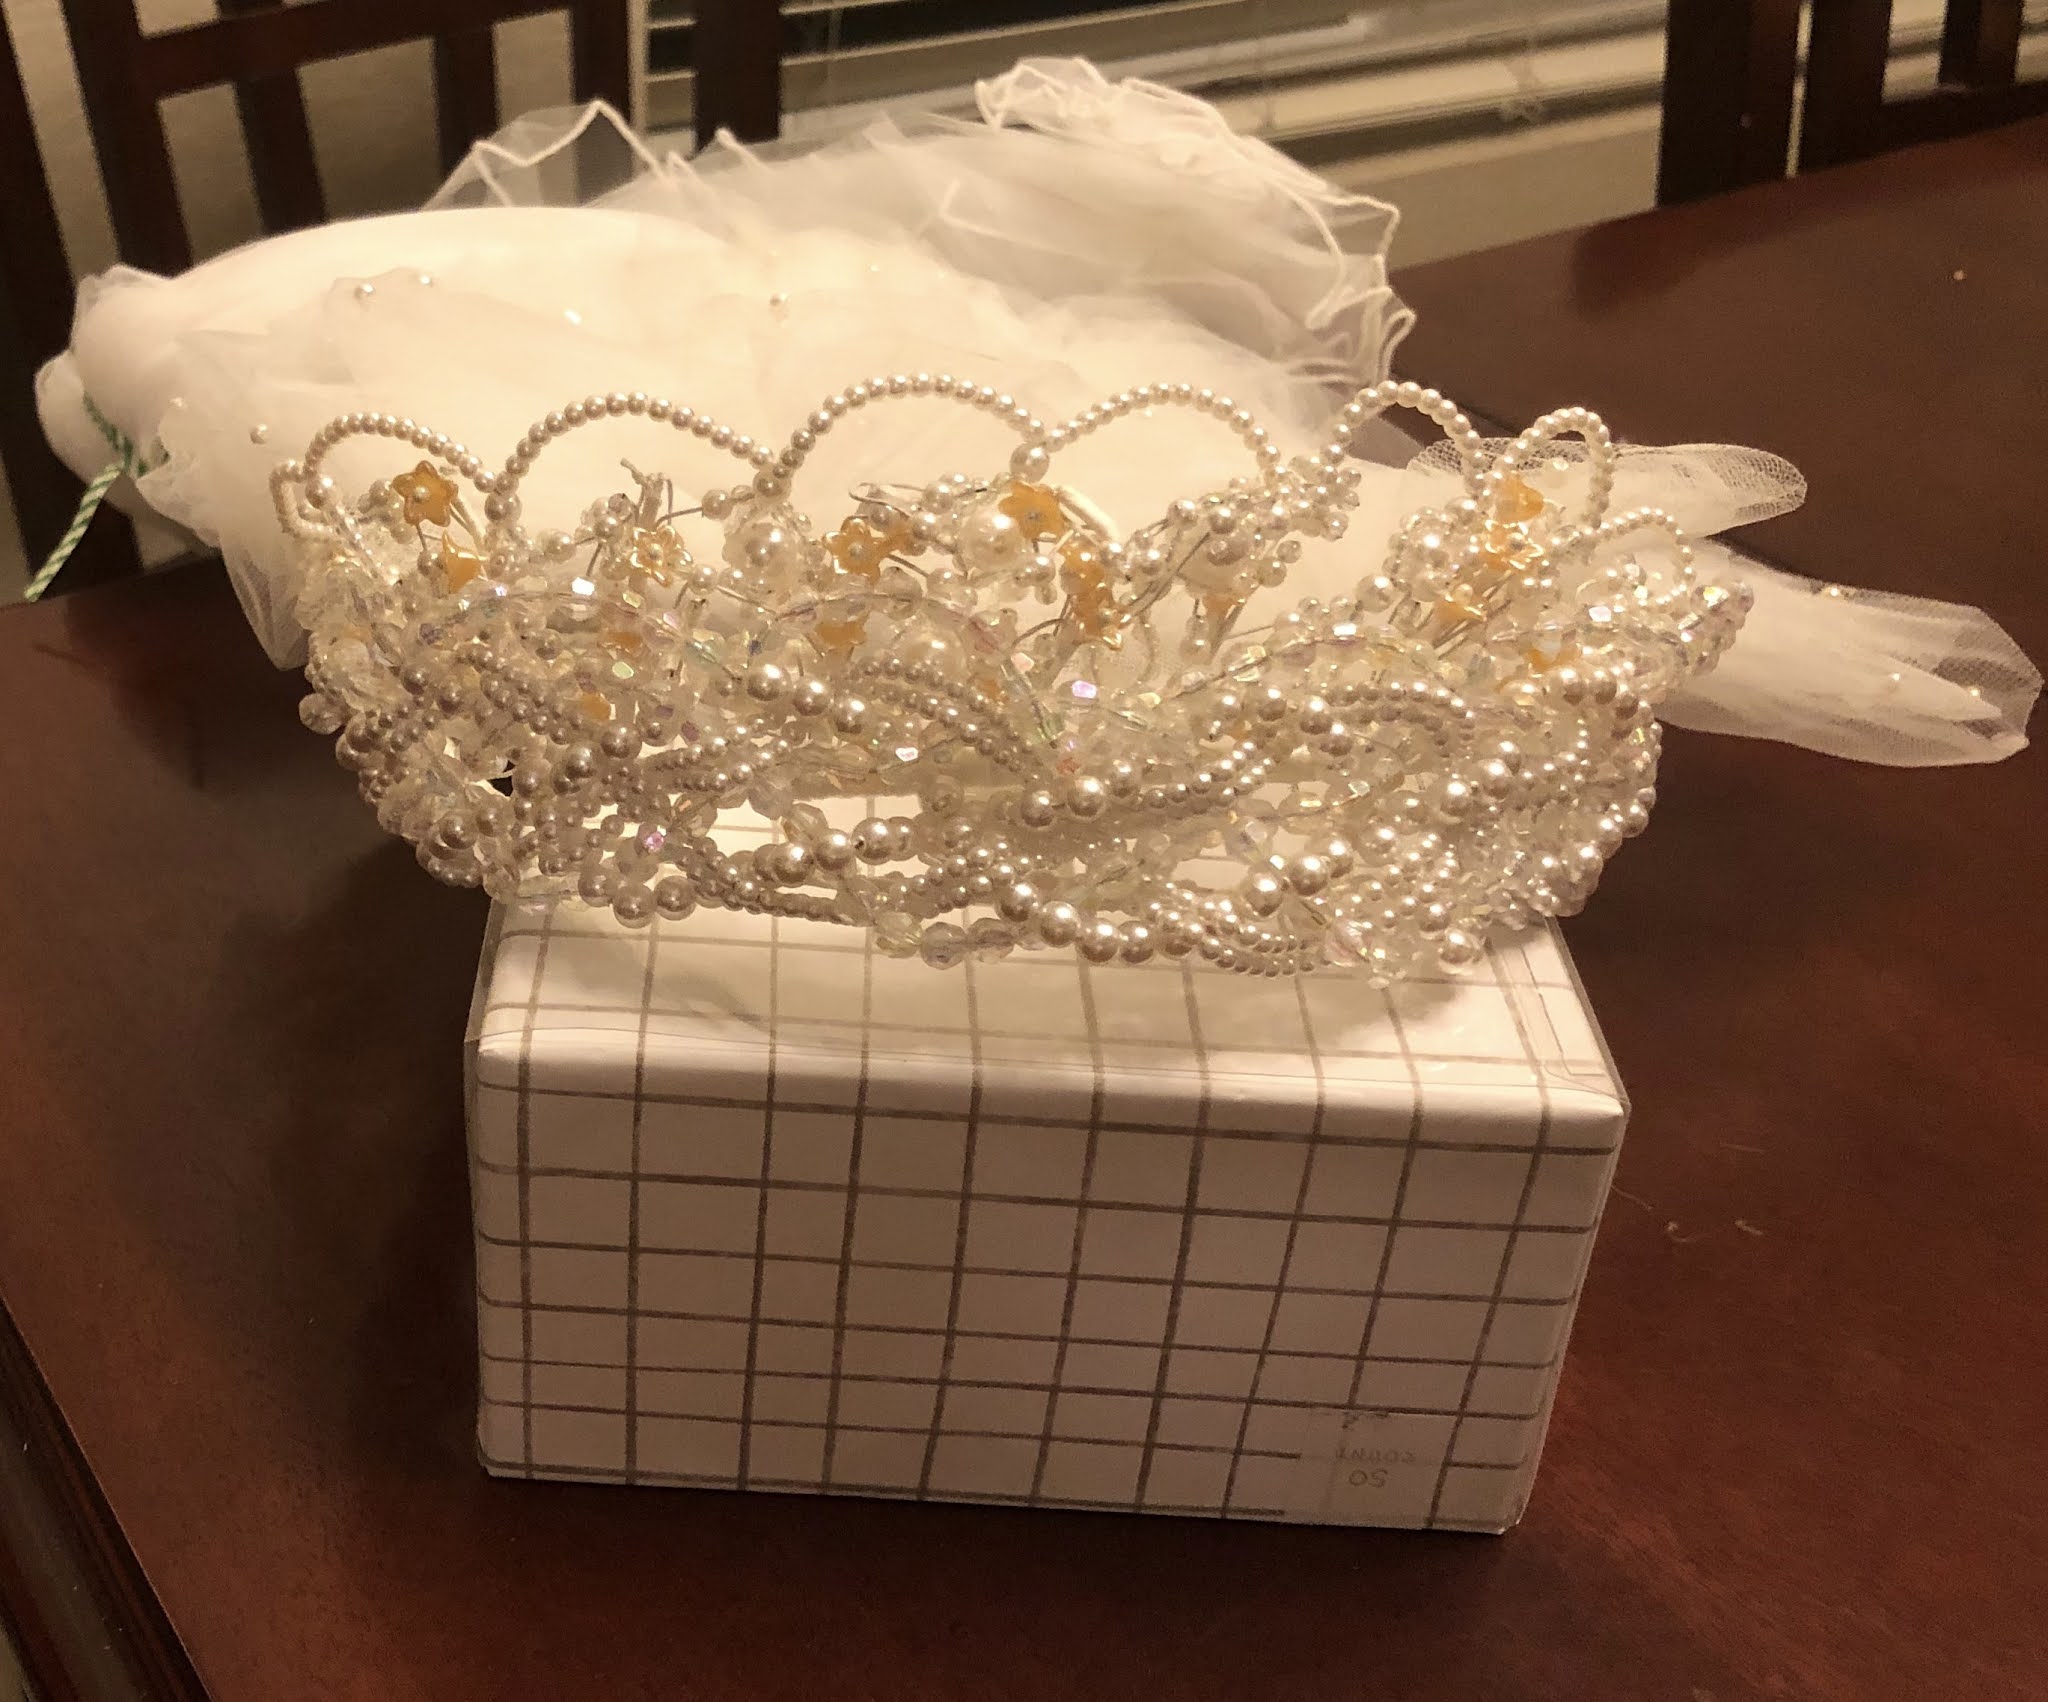
There is one more part to this dress I am going to write about in my next post - her veil.