 |
| Photo by Dominion Images |
Looking for the perfect dress for your special day is quite a task. Finding everything you like in one dress is hard, not impossible, but definitely a challenge. You might like the lace from one dress, the neckline on another, the skirt from one and sleeves from yet another. And then there's the dress you try on and love everything about it, the fit, the style but there's just a few things that make that dress land on the "if only ... " list. You have two choices, put it back on the rack and move on or ask if the changes you have in mind can be made. I worked with a bride last summer that did just that.
The bride loved the dress. The fit couldn't have been better, it needed to be taken up in the shoulders but from an alteration point of view, those were it for fit. There were two areas of the bodice the bride wanted changed - the neckline and the sides.
The neckline was a low cut "V" and the sides of the bodice were sheer. The plan was to add a piece to the front neckline and back the sheer sides. The bodice was ivory satin with a tulle overlay. For the neckline, I found matching satin and tulle. My goal was to make it look like it was always part of the dress, not a noticeable addition.
The neckline:
I measured where the bride wanted the new piece to start from the lowest point of the "V". I made my first mockup and put it in place. From there I narrowed the sides and added a little bit of a curve.
 |
| Starting with a mockup piece. |
 |
| Using graph paper, I slimmed down the sides and added a slight curve along the inside edge. |
 |
| I traced the graph paper pattern onto pattern paper and started cutting out the tulle overlay. |
 |
| Here I have all pieces cut and hand basted together. |
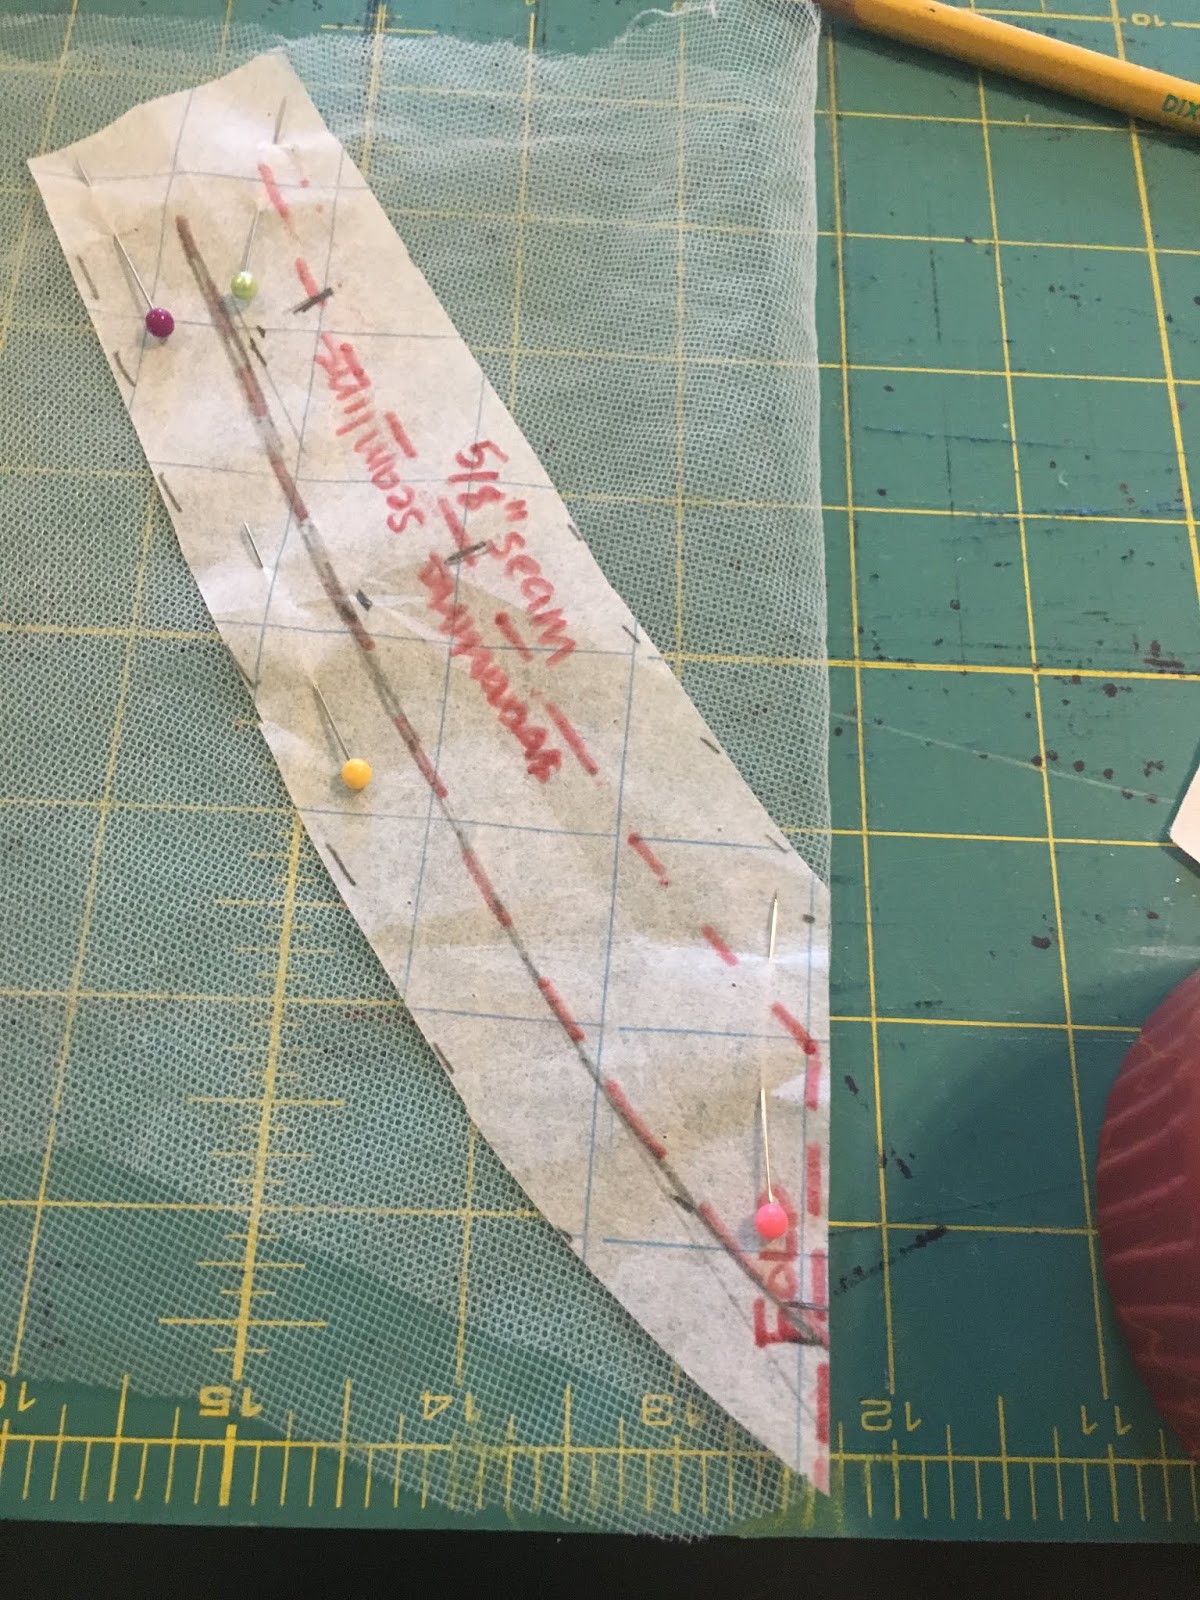
The top pieces (satin, tulle, interfacing) were machine sewn to a piece of lining using 5/8" seam allowances, turned inside out and pressed. Then I hand stitched the piece in place:
 |
| Finished look |
The bodice sides:
The original sides were sheer and the bride wanted those covered.
 |
| Original sides |
My first step was to make a pattern using graph paper.
 |
| My first pattern - too short, too wide. |
 |
| I moved the pattern down to meet the lowest part of the side. |
 |
| Measuring the sides to adjust my pattern. |
 |
| New pattern piece. |
**wondering why I take the extra step of transferring the graph paper to my pattern paper in this project? Me too. In hindsight, I could have used pattern paper from the start. And next time I probably will. I've used graph paper for years and have just recently started using pattern paper. For the small things, I still opt for graph paper. Old habits are hard to break.
 |
| Pinned and ready to hand stitch in place. |


Thank you to this sweet beautiful bride for asking me to add a few additions to your dress to make it more comfortable to wear.
 |
| Love this picture!! (Photo by Dominion Images) |