
I love the story behind this dress. This 1970's dress was purchased from a consignment store. The bride liked the shape of the dress, the fabric it was made from, the lace appliques. She wanted a few changes made. She wanted the bodice lined so it wasn't sheer in the back and she did not like the sleeves. She wanted the sleeves short, wasn't sure if she wanted them cap or a little longer so we were going to play with those.
From an alteration viewpoint, only minor adjustments were needed. The bodice was a little gappy along the sides near the sleeves. Darts would fix that. I thought a little wiggle room might be needed after the lining was added so I was going to wait to see on that. Looking at the side seams, there was room in the seam allowance. In fact, it looked like it was altered before, I was just going to bring it back to the original seam line. That was cool to see. And the zipper was worn so that needed to be replaced.
Starting the transformation....
Step 1 - Removing the sleeves:
 |
| Original dress with the darts pinned on each side of the bodice where I want to adjust the fit. |
 |
| It already looks like a new dress! |
 |
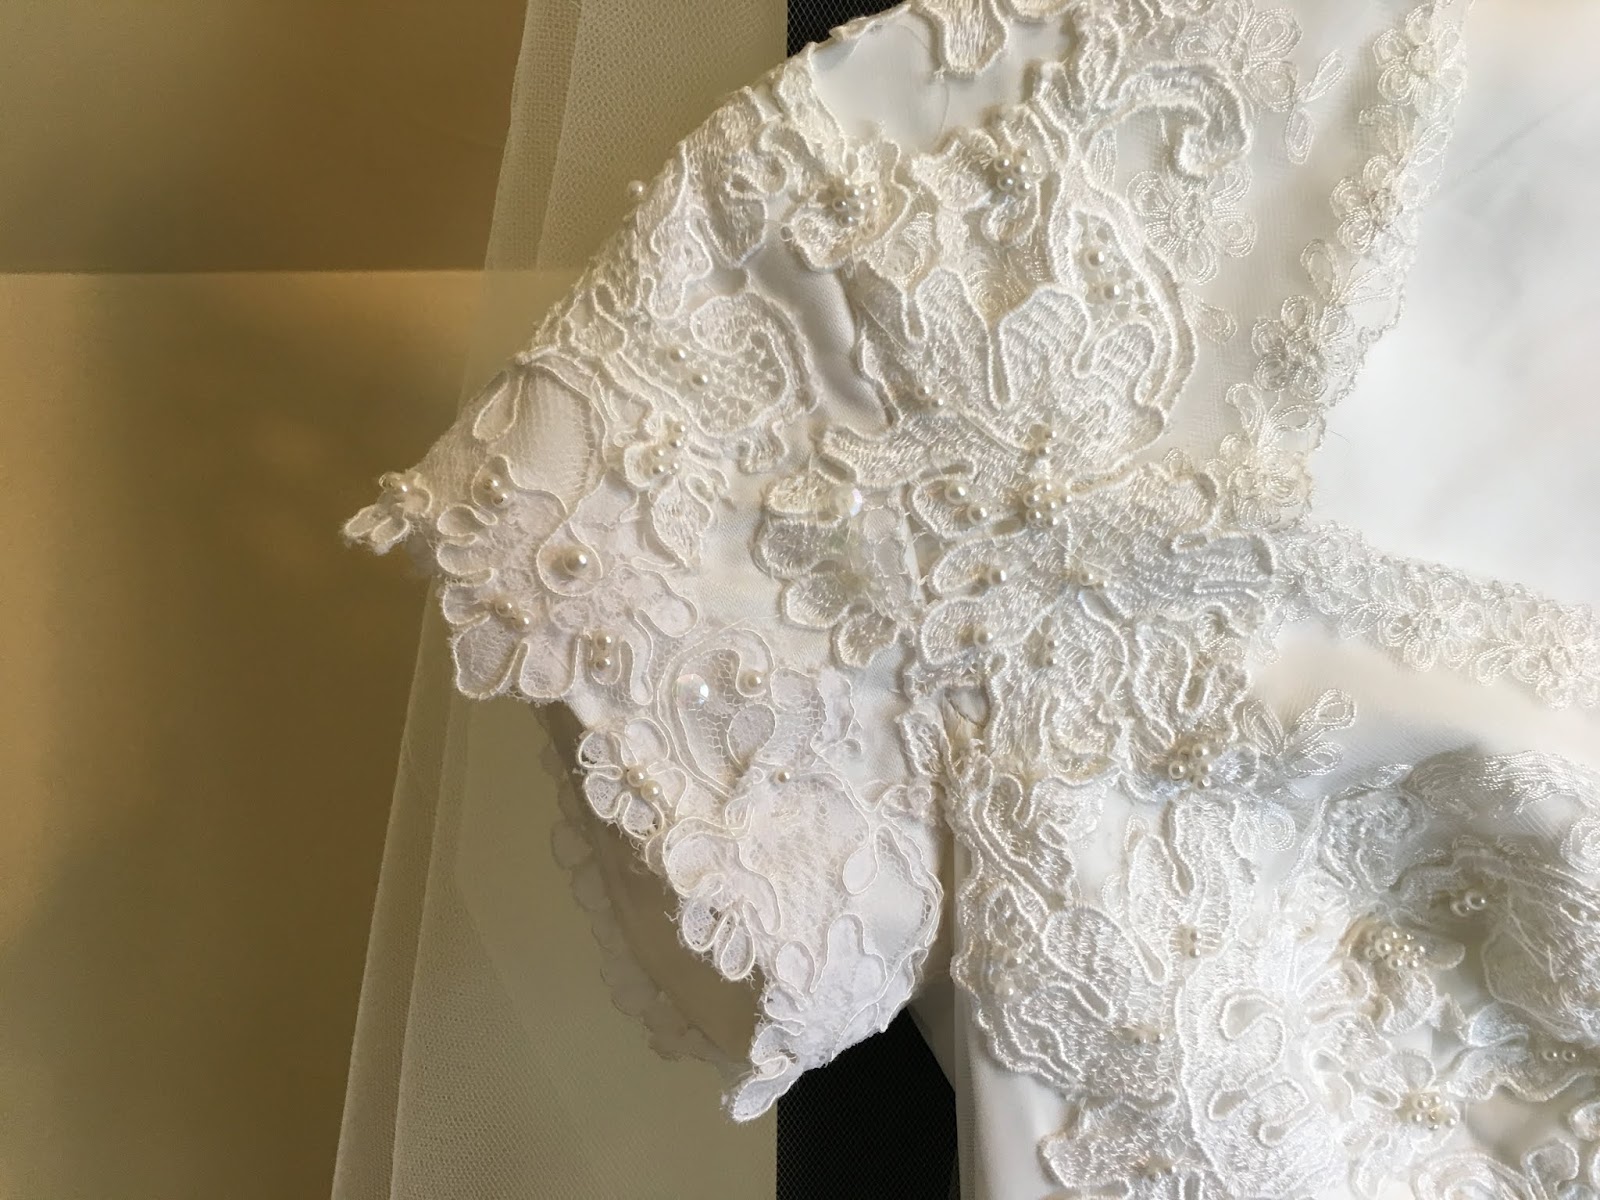
| I needed to remove the lace appliques. |
 |
| With the lace appliques out of the way, I measured where I wanted the darts to be. |
 |
| I took in 3/4" at the armhole, the dart length was about 2 1/2" long. |
 |
| Finished dart. |
Step 3 - Adding lining to the bodice:
 |
| Before |
 |
| After - Lining added along with loops. The new lining was not attached to the original sheer along the back opening. I liked that look down the center line. |
 |
Eighteen covered buttons added.
|
 |
| Sleeve pattern laid out on satin. |
 |
| I used as much of the original dress as I could. For the overlay on the new sleeves, I used the sheer from the original sleeves |
 |
| Original sheer overlay pinned and ready to baste to new sleeve. |
 |
| New sleeves ready to be attached to dress. |
 |
| New sleeves. |
 |
| Finished sleeve with appliques. At this point I also reattached the appliques to the bodice to hide dart lines. |
Step 5 - Adding some wiggle room to the waistline. I let out 1" from each side seam at the waistline - I ended up bringing it back to the original seam line, just as I thought in the beginning when I looked over the dress.
 |
| 1" removed from where the side seam meets the skirt. |
 |
| Skirt sewn back into place. |
Step 6 - Adding length to the front skirt. I was able to trim 3 inches from the back underskirt and add that to the front.
 |
| The underskirt extended about 3 inches past the tulle over skirt. This was what I needed to add to the front. |
 |
| I trimmed the satin underskirt to meet the edge of the tulle. Later I finished the edge with a rolled hem. |
 |
| Finished front skirt. |
Step 7- My favorite part, adding the final touches.
I was able to use the appliques I removed from the skirt and a few from the sleeves.
 |
| I started with one flower hand stitched along the seam connecting the skirt to the bodice. I liked it but wanted it filled in a little bit more. |
 |
| So I added another piece. |
This was a really fun project for me. The bones of the dress were already there and we just made minor changes to it without completely changing the style, just making it more fitting for this bride.
 |
| Photo by Paige Marilyn Photography |
Thank you, Danielle, for asking me to help you transform your "pirate" style dress. I enjoyed every minute!