As much as I wanted to just jump right in and start cutting taffeta I started with muslin. I wasn't confident the bride-to-be was going to like the style so starting with a muslin pattern was the best place to begin. Plus it was going to be so much easier to make adjustments to a muslin pattern rather than the final dress. Muslin is so inexpensive, you can even start over if you have to without worrying about cost.
 |
| Bodice pattern |
 |
| Muslin dress pattern with a trial belt idea |
Once I had the muslin pattern ready, we arranged for the first of many fittings. We fitted the muslin dress to her and played a bit with the lace sample.
 |
Playing with the lace, she liked the feel of
the lace - soft and delicate
|
 |
Lace sample draped over arm and part of
bodice |
The muslin pattern needed a few adjustments - shoulders needed to be narrowed and tapered so they would lay almost off her shoulders and the seam between the bodice and skirt would now go straight across instead of up to a center point. After making these adjustments, I was ready to start her dress.
I cut all the pieces I needed from the lace, taffeta, and lining including the interlining and tulle I was using to 'back' the lace pieces. I used cotton lining for the interlining which was hand basted to the wrong side of each taffeta bodice and skirt piece. All lace overlay pieces were also hand basted to each section of the bodice and skirt. For the bodice, it was easier to lay the lace over each bodice section, baste it and trim away the lace.
 |
| Lace piece over front bodice |
 |
| Lace trimmed to fit front bodice |
 |
| Front bodice |
The center of the bodice was reinforced with interfacing and marked to make a crisp center "v." This is probably the hardest part of a "V" shaped neckline dress for me, because if that center "V" is off, even by just a fraction, it throws the entire dress off. So I mark, baste, check and stitch.
 |
Marks for the "v" neck edge are made on the piece of interfacing.
One more benefit of underlining the taffeta - the interfacing was ironed to the underlining
instead of the dress fabric. |
 |
Pieces of bodice lining stitched and ready to be attached
to bodice. |
There's a extra step that years ago I would skip, just skip and then try to fix at the very end, which was an impossible task for me. No matter how I tried to fix it in the end, the garment just never looked good to me. Then I started to take the time to under-stitch. It's that magic step to eliminate neck edges from rolling or bubbling over from the inside. It creates a very crisp edge.
 |
Lining attached to bodice before under-stitching the
neck edge. |
 |
Under-stitching - stitching along the inside seam line of the
neck edge. |
 |
| Neck edge lays flat. |
 |
| Skirt piece with lace overlay attached. |
 |
Pinning front side skirt panel to center panel. Here's a good
view of the interlining attached to the wrong side of the skirt panel. |
Originally, the sleeve was going to be just as it was, nothing added to the existing scalloped edge. At one of the fittings, we were playing around with the trim and the sleeve. There was nothing exciting about the edge of the sleeve, sure the satin covered buttons would add a special touch but there was still something missing. She asked if we could put some of the trim we had for the skirt edge along the edge of the sleeve - beautiful. That's the beauty of making something, you can make any changes or additions you want. So we did.
 |
| Lace sleeve without added trim. |
 |
| Placing the trim so it hits in the right spot. |
 |
| Lace trim added to edge of sleeve. Pinned and hand stitched. |
The little details - Lace trim for the skirt and sleeves, satin covered buttons and loops for the sleeves and back zipper and finally beaded appliques.
 |
| Lace trim ready to be cut in two. |
 |
| Cut and ready to be trimmed and sewn to the edges of the skirt and sleeves. |
 |
Hand stitching, there's something very calming about slowing down to hand stitch.
It takes time but in my opinion, it's worth every minute. |
 |
| Skirt edge with lace trim attached. |
 |
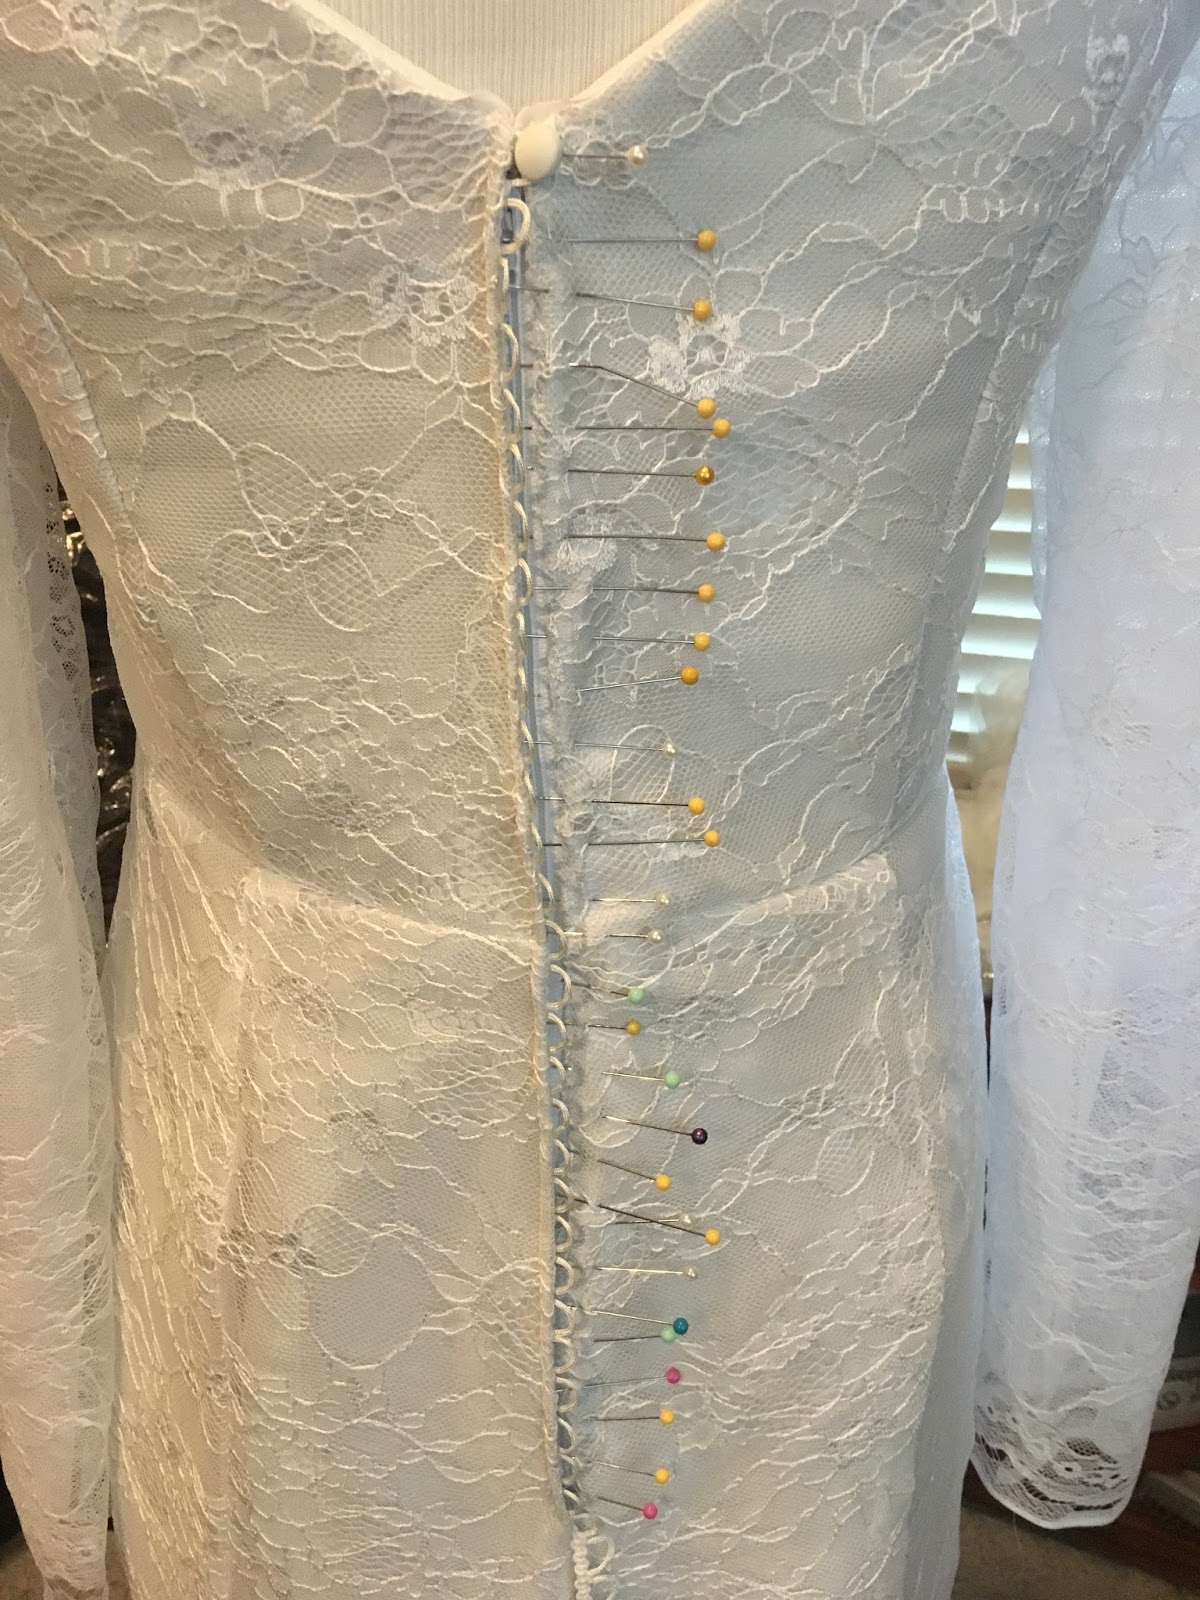
| Sewing in the zipper. |
 |
| Pinning the loops along the zipper tape. |
 |
Checking the loops on the outside, adjusting to make sure
they are all even. |
 |
| Figuring out where to place the buttons. |
 |
Buttons and loops attached. Trial run with an applique
before it's beaded.
|
 |
| Buttons and loops added to the inside of each sleeve. |
The appliques were beautiful when they arrived and I considered leaving them as is. But then I went back to the inspiration dress and saw that there was a bit of detail to the appliques and decided to add the beading. I started with simple pearl beads in the center of each flower and along the stems. The flowers looked like they were missing something so I added clear glass beads.
 |
| Starting first by adding a pearl bead to the center of each flower. |
 |
| The flowers needed more, so I added glass beads to the petals. |
The glass beads were a subtle change but a change I'm glad I made.
 |
Pearl beads added to the stems and applique attached
to the dress. |
If you read my first post about making this dress, I wrote about never assuming you know what a person will request or say. On the day of a fitting, one I thought I was only going to make minor adjustments at, there was a change. The bride-to-be showed up with her shoes, a different kind of shoe from what she originally was going to wear. As she walked inside my house, she pulled out a pair of hiking boots she decided on wearing. Naturally, it fit her personality and was the perfect change. We had to make some changes to the hemline of the dress to hide the rounded toe of her boot, her boots added about a 1 1/2 inches. Luckily, the lace was only pinned to the front of the dress so that was easily adjusted and I had leftover taffeta to add to skirt edge.
 |
I adjusted the lace to where the eyelash trim was
going to brushthe floor with her boots on.
The taffeta skirt hem hits about 1 1/2 inches shorter than
we wanted it to, so I needed to make an extension piece. |
 |
Making a pattern to add the extra length using the pattern
for the skirt front and skirt side front. |
 |
Pattern piece made at 2 1/2 inches wide, 1/2 inch seam
allowances to give a finished width of 1/2 inches. |
 |
| Pattern pieces, cut two of each to sew together. |
 |
| Center skirt extension pinned to side skirt extension. |
 |
Finished skirt extension piece with a
serged edge for a clean look. |
 |
| Hand stitched to inside of original hem. |
 |
Finished look is a tiered hem. Not what was originally planned for
the front hem but it adds interest. |
 |
New hemline to hide her boots.
|
The end of an incredible journey.
 |
I made a simple veil and attached it to a
rhinestone beaded comb. The white ribbon was a tester. |
|
 |
Bustled - French (under bustle) for the taffeta train and
an American bustle for the lace overlay. |
 |
The bride with her belt that she was unsure
would go with her dress because of color and beading.
Like every other decision she made along the way, it
was spot on. |
There's a moment for a bride and her dress. I know that sounds silly but its true, ask any bride and they will tell you. Sometimes I'm lucky enough to be there when it happens. Sometimes it comes near the end of a final alteration appointment when a bride gets quiet and just stares. I often want to ask them to put that moment into words but I don't, I let them have their moment, it's beautiful to be on the outside looking in. For this sweet bride, it came when we put her veil on, it came with a deep breath in and tears trickling out from the corners of her eyes. And it was beautiful. I love this last picture because she was in the middle of her moment and I caught it. She has told me she will send pictures but this is already my favorite.
Congratulations to you and your groom, today is the start of an incredible journey for the two of you.